Last Updated on September 6, 2023
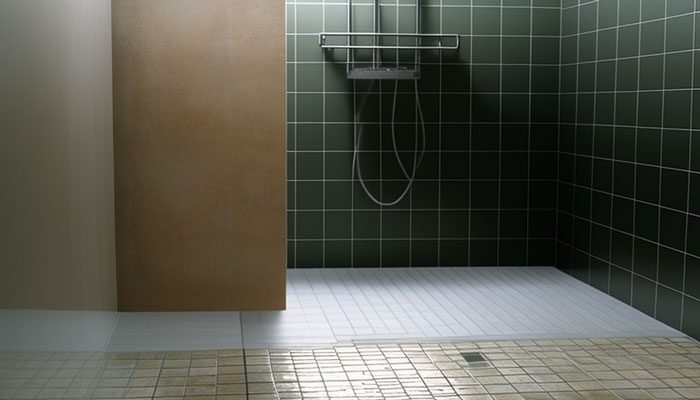
Your shower floor can become plagued with a thick, white layer of calcium buildup. The unsightly white film makes it difficult to keep your bathroom clean and tidy. Too much mineral content of calcium carbonate or overly soapy, low pH waters creates the perfect storm for calcification on your shower floor.
Find out how to keep them from returning and ensure your home stays looking its best. From using vinegar and baking soda to commercial cleaning products, each method is easy and requires minimal effort.
Without the proper care and attention, tiles can become dull, and even structural integrity could be compromised. Explore five effective methods of removing calcium buildup from the shower floor without damaging tiles or grout.
How To Clean Calcium Buildup on Shower Floor without Damaging the Floor?
Cleaning calcium buildup in shower floors can be a daunting task, but it is possible to safely remove the mineral residue without damaging your floor. Fortunately, there are five simple methods which can help you keep your shower floor sparkling clean without causing any damage.
Method 1. Vinegar With Baking Soda:
Calcium buildup or hard water stains on shower floors can be a major problem for homeowners, as it can cause the grout between tiles to break down and discolor. Fortunately, it’s easy to clean up calcium deposits with simple household supplies like vinegar and baking soda. With some elbow grease and patience, you can get your shower floor looking good as new in no time!
Step 1. Gather Necessary Supplies and Tools:
Start by stocking up on the necessary cleaning supplies and tools. You’ll need a plastic putty knife or small scraper (mop), white distilled vinegar, salt (optional), baking soda, a scrub brush or toothbrush, a mop or sponge, and a bucket of warm water.
Step 2. Scrub The Floor With a Plastic Putty Knife:
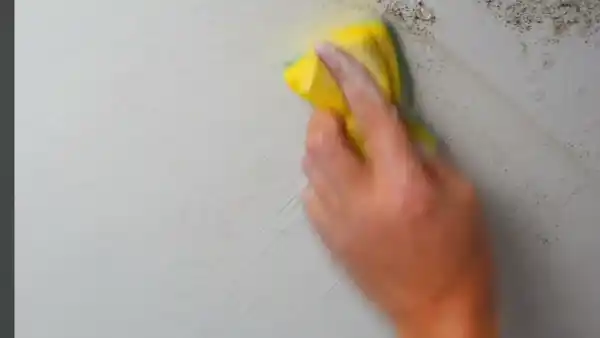
Begin by scraping away the calcium buildup with the plastic putty knife or small scraper. Work slowly but firmly in order to chip away at the deposits without damaging the tile surfaces underneath.
Step 3. Mix Vinegar & Salt and Apply It to The Floor:
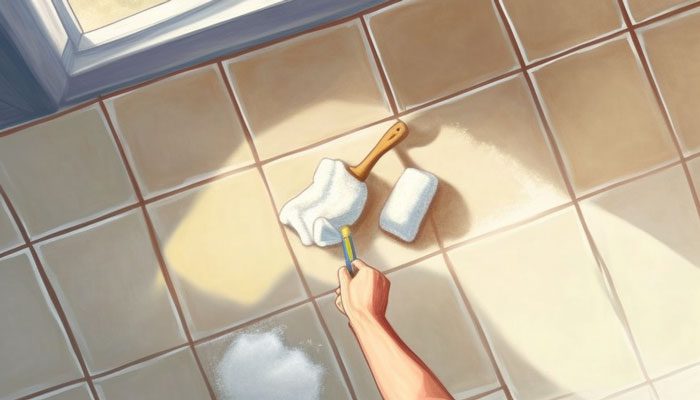
Once you’ve gotten rid of as much calcium buildup as possible with the plastic putty knife, it’s time to move on to vinegar and salt solution. Mix together equal parts white distilled vinegar and salt in a bucket until they’re combined thoroughly into an evenly blended mixture.
Then use a mop, toothbrush, or sponge to apply it to your shower floor in gentle circles until all areas are covered with an even layer of the solution. Allow the paste to sit for 10 minutes before rinsing away with warm water.
Step 4. Apply Baking Soda On The Floor:
Now, sprinkle baking soda liberally overtop it so that all areas have been lightly coated with baking soda powder evenly across its surface area. It will react with any remaining calcium deposits that may still be present on your shower floor.
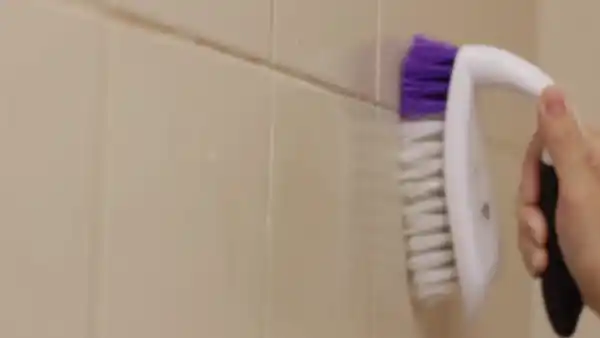
Step 5. Scrub The Floor With A Brush:
Using either a scrub brush or mop, gently scrub each area of your shower floor that has been covered in both vinegar and baking soda solution. This will help loosen any remaining calcium deposits effectively while avoiding scratching or damaging its underlying surfaces underneath.
Work slowly but firmly so as not to damage its tiles underneath while getting rid of those stubborn calcium deposits effectively.
Step 6. Rinse The Floor Thoroughly:
When you are done scrubbing your shower floor, rinse off any remaining residue left behind using a bucket filled with warm water. Use either a mop or sponge to ensure that everything has been completely washed away without leaving behind any traces of cleaning solutions used earlier on.
Allow everything enough time to air dry completely afterward before proceeding to enjoy your newly cleaned-up shower floors again.
Method 2. Lemon Juice:
Cleaning calcium buildup on a shower floor is an important task to maintain a healthy and hygienic environment. Lemon juice can be used as a natural and effective way to eliminate pesky calcium deposits, making it essential to know how to use this method properly.
Step 1. Gather Supplies:
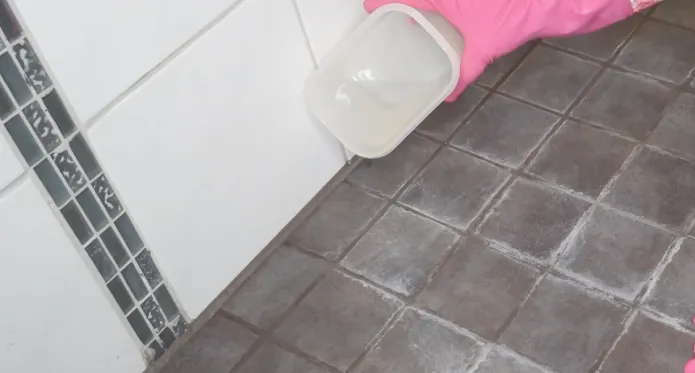
To clean calcium buildup from your shower floor, you’ll need some rubber gloves, a cleaning brush, a sponge or cloth, a bucket, and some lemon juice.
Step 2. Prep the Shower Floor:
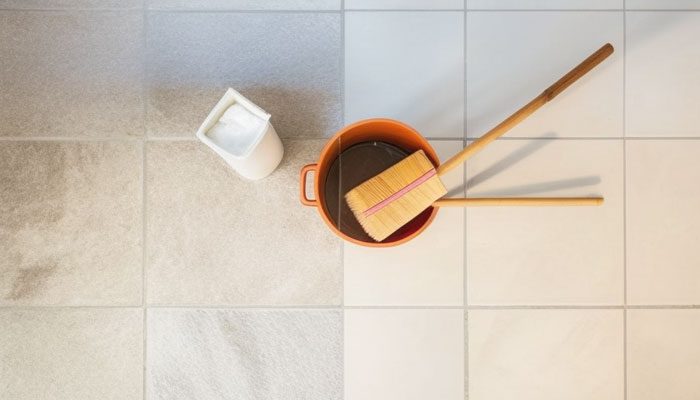
Clear the area of any clutter or debris before beginning the cleaning process. Sweep away any dirt and dust with a broom and dustpan before mopping up any standing water on the surface of the shower floor.
Step 3. Apply Lemon Juice:
Pour some lemon juice into the bucket and dip your cleaning brush into it; make sure that all of the bristles are coated in the juice. Then use circular motions to scrub away at any calcium deposits on the surface of your shower floor. This should be done until you have covered the entire area affected by limescale buildup.
Step 4. Wipe Away Excess Lemon Juice:
Next, wipe away any excess lemon juice with your sponge or cloth. This will ensure that no sticky residue is left behind once you’ve completed this step of the process.
Step 5. Rinse Away Lemon Juice & Calcium Buildup:
After wiping away any excess liquid, fill up your bucket with warm water and rinse off both your cleaning brush as well as any remaining lemon juice and calcium buildup from your shower floor. Once this has been done, dry off with an absorbent towel or cloth for best results.
Step 6. Disinfect The Area (optional):
If desired, spray down your shower floor with disinfectant spray to thoroughly sanitize it after cleaning it with lemon juice. This will help to kill off any remaining germs or bacteria on its surface before using it again for bathing or other purposes.
Method 3. Hydrogen Peroxide Solution:
Cleaning calcium buildup on shower floors is essential for preventing future damage and keeping showers looking great. By following five simple steps, you can quickly clean away the calcium deposits using hydrogen peroxide solution.
Step 1: Put on protective gloves and eye protection before starting the cleaning process, as hydrogen peroxide can be harsh on the skin and eyes.
Step 2: Fill a bucket with hot water and pour in one cup of hydrogen peroxide. Stir well until it’s fully incorporated into the water.
Step 3: Wet down the shower floor with warm water to help the cleaner stick better. This will also help protect against splashes of the cleaner getting onto walls or other surfaces that could be damaged by the chemical reaction of hydrogen peroxide and calcium buildup.
Step 4: Allow the solution 10 to 15 minutes time to sit and work its way through any tough spots or layers of calcium build-up. Dip an old cloth into the cleaning solution and then scrub the affected area.
Step 5: Rinse off all of the residues from the floor thoroughly with warm water, using a scrubber if necessary to make sure everything is removed. Use a towel or mop to dry off any remaining moisture, ensuring no cleaner residue stays behind on your shower floor.
Method 4. Pumice Stone:
Pumice stone is an effective tool for removing calcium buildup from shower floors, and with the proper steps in place, it’s possible to achieve perfectly clean results.
Step 1. Dampen The Pumice Stone:
Before you begin cleaning, it is important to ensure that the surface of your shower floor is dampened. This helps prevent any damage that may occur during cleaning. To do this, use warm water and spray directly onto the area where calcium buildup has occurred.
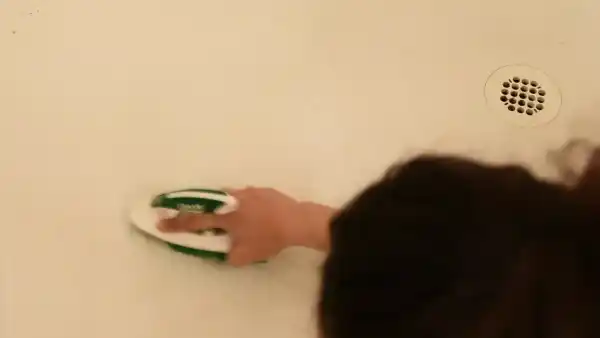
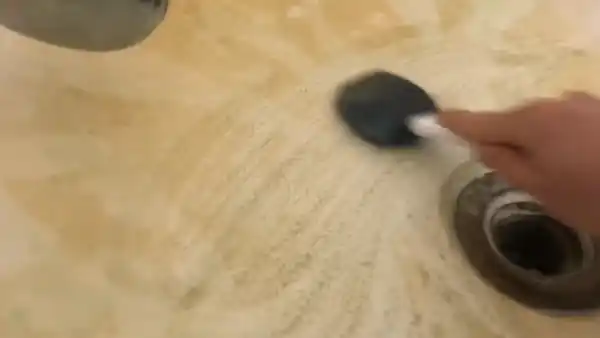
Step 2. Apply Gentle Pressure in Straight Motions:
Once you have moistened the area, take your pumice stone and apply gentle pressure in straight motions over the affected area. Be sure to move slowly and in a circular pattern to remove hard water stains as efficiently as possible.
Step 3. Rinse The Floor:
Rinse your floor with warm water again to remove any leftover residue from the pumice stone. Then use a dry cloth or towel to further dry off any wet areas on your shower floor so it will not be slippery when stepping out of the shower at a later time.
Method 5. Commercial Biodegradable Calcium Cleaner:
Over time, calcium deposits can accumulate on your shower floor, making it look dull and discolored. Commercial biodegradable calcium cleaners are an effective way to remove calcium and hard water stains and restore the beauty of your shower floor.
Step 1. Gather Supplies and Preparations:
It is important to have the right supplies before beginning the cleaning process. Commercial Calcium stains cleaner such as calcium lime rust (CLR calcium cleaner), lime-a-way cleaner, scrubbing bubbles, bar keepers friend, or mr. clean magic eraser and a soft scrubby pad are essential for this job.
Be sure to also wear protective eyewear and gloves while cleaning in order to prevent skin irritation or any damage to your surfaces.
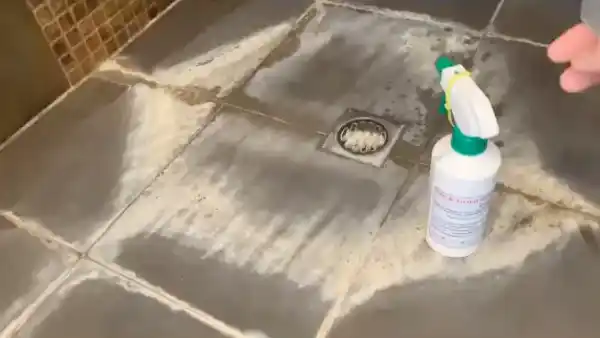
Step 2. Spray Commercial Calcium Cleaner:
Once all of your supplies are gathered, spray the commercial calcium cleaner over the entire surface with light pressure. Make sure that you evenly apply it onto all of the affected areas so that it can be thoroughly cleaned.
Step 3. Allow it to Sit for a Few Minutes:
After spraying the cleaner, allow it to sit for several minutes in order for it to work into the affected area and loosen up any built-up calcium deposits. This gives it enough time for maximum effectiveness without having any effect on surrounding surfaces or materials.
Step 4: Scrub with a Soft Scrubby Pad:
Once you have allowed enough time for the cleaner to loosen up any build-up, use light pressure with a soft scrubby pad or sponge in order to remove any loose material from your shower floor’s surface.
This will help ensure that all of the calcium buildups are properly removed without damaging your surfaces or causing any skin irritation due to its gentle action.
Step 5. Rinse and Dry the Floor:
After eliminating stains and spots from the flooring, rinse any leftover cleansers away. Then wipe down all areas to ensure that no dirt is hidden beneath residue or product left behind during cleaning for unbeatable bathroom sparkle every day of the week.
What Cleaning Products Work Best on the Surface Based on Floor Type?
1. Porcelain or Ceramic Tile:
When it comes to cleaning porcelain or ceramic tile surfaces, it’s important to use non-acidic cleaners such as lemon juice, white vinegar and soap film remover. You can also use a green scrubbing pad for stubborn stains. However, hydrofluoric acid and other heavy duty acids should be avoided. Take a look at the list:
I. What You Can Use:
- Lemon Juice
- White Vinegar
- Soap Film Remover
- Other Acid-Based Cleaners
- Green Scrubbing Pad
II. What You Can’t Use:
- Hydrofluoric Acid
- Heavy Duty Acids
2. Granite and Other Silicate-Based Stones:
Keeping your granite and other silicate-based stone surfaces looking their best doesn’t have to be complicated. For maintenance, opt for pH neutral soaps or detergents.
Or create a warm water solution with vinegar or lemon juice for an easy yet effective alternative. If you’re willing to take it one step further, try hydrogen peroxide mixed in water.
When dealing with deep-set stains, sulfamic acid can be a powerful cleaning solution, but make sure you know how it works on calcium deposits first. Be wary of high alkaline and ammonia products as well as combo cleaners containing both. Here’s a list:
I. What You Can Use:
- pH Neutral Detergent or Soap
- Vinegar or Lemon Juice
- Hydrogen Peroxide Solution
- Sulfamic Acid
II. What You Can’t Use:
- High Alkaline and Ammonia Products
3. Marble and Other Calcium-Based Stone:
For marble and other calcium-based stone surfaces, it is important to use cleaners that are both stone-safe and pH-neutral. For polished stone, there are specific products available specifically designed for this type of surface. These will help prevent any streaks or residue from appearing after cleaning.
For honed stone, heavy-duty and non-acidic soap film removers should be used, as these help with the removal of stubborn dirt and grime. Also, it is essential to avoid using green scrubbing pads on either type of stone surface, as this could cause scratching or damage to the marble or calcium-based stone. Check out the list:
I. What You Can Use:
- Stone-Safe Cleaners
- Non-Acidic Soap Film Remover
II. What You Can’t Use:
- Green Scrubbing Pad
What Causes Calcium Build Up in the Shower?
Calcium build up in showers is caused by water with a high mineral content usually found in hard water. This high mineral content causes minerals like calcium carbonate to deposit on the surfaces of shower tiles and natural stone surfaces.
Can You Use CLR On Shower Floor?
CLR is designed for removing limescale and calcium deposits and can be used to clean shower floors made of plastic, porcelain, and ceramic tile . When using any type of cleaner on your shower floor, it is important to follow the manufacturer’s instructions and use protective gloves when necessary.
Can You Use Scrubbing Bubbles on the Pebble Shower Floor?
You are not recommended to use scrubbing bubbles on pebble shower floors as these could scratch and damage the delicate pebbles. Instead, opt for a mild detergent like dish soap to keep it sparkling clean without harsh chemicals or hard scrubbing.
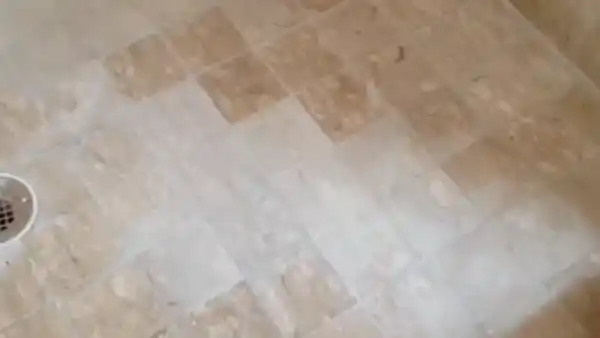
What is the White Build Up on Your Shower Floor?
If you’ve ever noticed faded white streaks or blotches streaking across your shower tile, it could be due to calcium deposits from hard water. These mineral-rich particles build up over time and eventually create a crusty layer around fixtures and drain openings for an unsightly presence in the bathroom.
What Does Calcium Buildup in Shower Look Like?
The calcium build up in showers can look like a hard, crusty deposit that changes color from white to brown depending on the minerals in your water. You’ll most likely spot it along tile grout lines or near drain openings where standing pools of mineral-rich water tend to accumulate before drying away.
Does Vinegar Break Calcium Deposits?
Calcium deposits are a common problem for showers, but the good news is that vinegar can help. Vinegar slowly dissolves away calcium buildups and soap scum much like magic.
Remove Calcium Build Up From Shower Floors To Keep Them Looking Fresh
Calcium build up is a common problem in showers that can quickly cause tiles and grouts to become stained and dull over time. Thankfully though, there are several ways to clean off the unsightly deposits without damaging the underlying surfaces in any way.
You can remove calcium build up from showers with everything from vinegar and baking soda to pumice stones. With regular cleaning and maintenance, homeowners can ensure their showers remain free from unsightly calcium build up for years.