Last Updated on September 6, 2023
Cleanliness is a priority for homeowners, especially when it comes to shower doors. Shower doors are often exposed to hard water stains, soap scum, and stubborn grime that can be difficult to remove with traditional cleaning methods. However, an alternative solution exists using dryer sheets.
To clean shower doors with a dryer sheet, All you need to do is wet the surface, rub it down with the sheet and scrub away. After rinsing off any soap residue, your fixtures will be looking shiny new in no time.
Let’s explore the best techniques for making your shower doors spotless. Learn clever hacks to avoid common cleaning mistakes so you can have long-lasting, gleaming surfaces.
Clean Shower Doors with a Dryer Sheet: Step-by-step Instructions
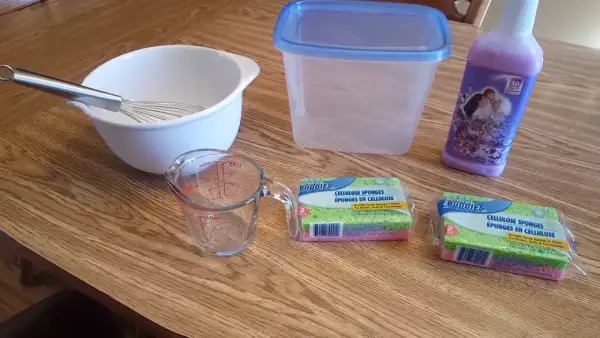
Step 01. Start by gathering the supplies you will need: a dryer sheet, a bucket of warm water (preferably with a few drops of dish soap for extra cleaning power), a soft-bristled scrub brush, and an old rag or towel.
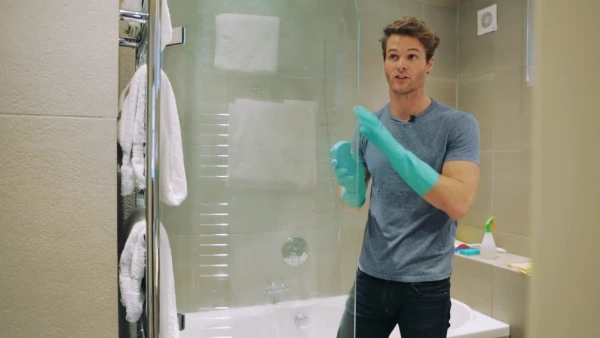
Step 02. Take the dryer sheet and run it along the surface of the shower doors, making sure to cover each section completely. The dryer sheet will help remove any dirt or grime that may have built up over time on the glass surface. Rub in circular motions to get into all of the crevices and curves.
Step 03. Once you’ve finished with the dryer sheet, fill your bucket with warm water and add in a little bit of dish soap if desired. Place your scrub brush in the water and let it soak for several minutes before you begin using it to clean the shower doors.
Step 04. Dip your scrub brush into the soapy water and start from one side of your shower door to clean away any remaining dirt or grime that wasn’t removed by running your dryer sheet over it earlier.
Work in small circles in order to get into all of those hard-to-reach places between glass panels or other hardware on your shower door.

Step 05. When you’ve covered all sides, rinse off your scrub brush in hot water before putting it back into your bucket with more warm soapy water for later use if needed. To complete the job, take an old rag or towel and wipe down all surfaces until they are completely dry and shiny clean.
Step 06. For extra sparkle, after drying off the shower doors, use a fresh dryer sheet to give them a final buffing this will help repel future dirt buildup on their surface as well as leave them looking super shiny.
Step 07. Finally, for best results, make sure you repeat this process every week or two. Depending on how much use your bathroom receives, this will ensure that dirt doesn’t accumulate on your shower doors again too quickly.
How Should You Hold the Dryer Sheet When Cleaning Shower Doors?
Cleaning shower doors can be tricky, especially when using dryer sheets. The proper technique when holding the dryer sheet is important for a streak-free finish. Here’s how to do it right.
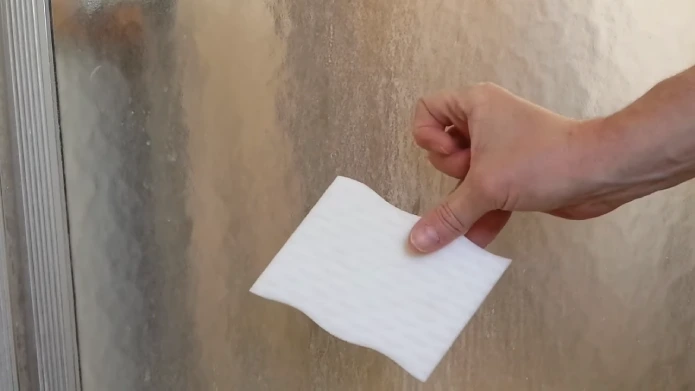
Holding Technique 01: Start by wetting the sheet with water from the spray bottle, making sure that it’s not too wet or too dry. Just damp is perfect.
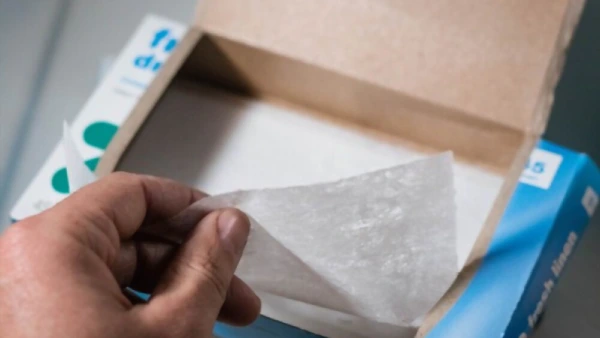
Holding Technique 02: With your dominant hand, hold one corner of the sheet and stretch it out across your palm and fingers so that you can keep a firm grip on it while you clean.
Holding Technique 03: Curve your palm downwards slightly so that the sheet forms a slight cup shape in the middle instead of being completely flat against your hand. This makes it easier to clean curved surfaces more effectively without tearing up the sheet.
Holding Technique 04: Have your thumb and index finger meet at either side for extra control, and move around in small circles rather than wide swipes, as this will help reduce streaking and make sure every corner is reached properly with each movement of your arm.
Holding Technique 05: You may also want to wipe down each surface twice, once from top to bottom, then again from bottom to top, for thorough coverage before rinsing off any residue with warm water from your spray bottle or wet cloth for a crystal-clear finish.
How Should You Move the Dryer Sheet Across the Door?
Moving a dryer sheet across a shower door may seem like an easy task, but in reality, it requires precision and patience.
To ensure that the dryer sheet is moved safely and without damaging the door or the dryer sheet, certain steps must be taken.
Here are some instructions on how to move a dryer sheet over a shower door.

Instruction 01: Start by measuring the length of the room and then measure the size of the dryer sheet to determine if it will fit properly on the door frame.
Instruction 02: Hold one side of the dryer sheet firmly against the wall with one hand while using your other hand to slowly move it along the top edge of the door frame from one side to the other. Be sure to keep your hands flat against the surface so as not to cause any creases in the material.
Instruction 03: As you move along, adjust your grip on each side of the material as needed so that it remains straight and fits snugly against both sides of the door frame without bunching up or wrinkling in areas where it should lay flat. If necessary, use another person’s help to make sure this happens properly.
Instruction 04: When you reach the opposite end, press down firmly on each side to make sure that it has adhered securely and is not at risk of falling off due to poor adhesion or incorrect placement along either side of the door frame.
Instruction 05: Finally, use painter’s tape or adhesive strips along both sides of the dryer sheet for extra security, making sure not to cover any part of its pattern as this could affect its appearance when hung up on display.
Frequency of Shower Door Cleaning with a Dryer Sheet
For achieving optimum results on your shower doors when cleaning with a dryer sheet, it is suggested to do this once per week. This will help keep your shower looking its best for longer and prevent any build-up of dirt or soap scum that can otherwise become difficult to remove over time.
Before doing the weekly cleaning, make sure to check whether the doors are spotless or not. If they are, then you don’t need to clean them with a dryer sheet yet, as they still look good.
Be sure also to inspect your shower after every use in order to promptly deal with any dirt that may have accumulated while bathing or showering.
Common Mistakes People Make When Cleaning Shower Doors with Dryer Sheets

Not Changing The Dryer Sheet Frequently
Many people need to replace their dryer sheet after it becomes dirty or worn out. This can reduce its effectiveness in cleaning and scrubbing shower doors, leading to unsatisfactory results.
To avoid this, regularly inspect your dryer sheets for any signs of wear and tear and change them as soon as they become unusable.
Using Too Much Pressure
When using a dryer sheet to clean your shower door, it is important to use gentle pressure so as not to scratch or damage it. Pressing down too hard when scrubbing can cause small scratches and dulling in the glass surface, which will require more effort to remove later on.

To avoid this mistake, make sure that you are using light strokes with just enough pressure to remove the dirt from the surface without damaging it.
Overlooking Spots
It is easy to miss some spots when cleaning your shower door with the dryer sheet, especially if you don’t take your time during the process. This can lead to streaks and smears remaining even after you’ve finished cleaning, creating an unpleasant look overall.
To prevent this from happening, focus on thoroughly inspecting every inch of the shower door while cleaning it with a dryer sheet so that no area gets overlooked.
Not Rinsing Off Soap Residue
If there are any soapy residues left behind after washing your shower door with a dryer sheet. In that case, these should be rinsed off immediately to prevent them from hardening over time and creating streaks or spots on the surface later on.
Rinsing off soap residue will ensure that your shower door looks clean and streak-free for longer periods of time without having to re-clean it often.
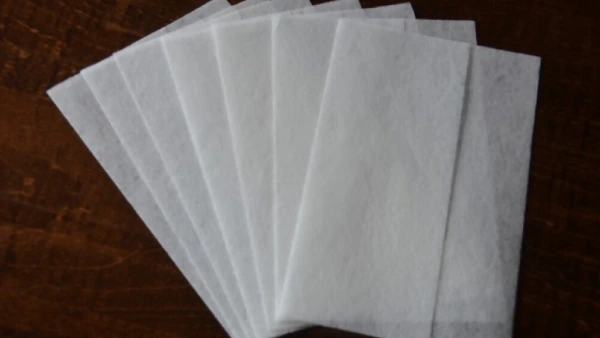
What Kind of Dryer Sheet Should Be Used?
For cleaning shower doors, a dryer sheet should be used that is specifically designed for cleaning glass and mirrors.
These dryer sheets are made of special materials that are designed to help break down mineral deposits and soap scum on the surface of the glass, as well as help repel water droplets so they don’t form spots.
When selecting a dryer sheet for this purpose, look for one that is specifically made to be used on glass surfaces and not just any type of fabric softener.
This will ensure that the material is strong enough to break down and remove the grime without leaving any kind of residue behind.
Which Side of the Dryer Sheet Should Be Used?
To clean your shower doors effectively with a dryer sheet, use the non-textured side of the sheet.
This site contains more abrasive cleaning agents than the textured side, allowing it to break down soap scum and mineral deposits more easily when rubbed against the surface of your shower door.
It also helps repel water droplets to prevent spotting after you finish cleaning. Start by wetting the non-textured side of your dryer sheet with warm water and then gently rub it in small circles over any areas containing build-up or grime.
Once you have sufficiently cleaned those areas, rinse them off with warm water, and you should be good to go.
Final Thoughts
Cleaning your shower doors with a dryer sheet is an effective and environmentally friendly way to keep them looking great. It’s quick and easy to do and eliminates the need for chemical-laden cleaners.
By following these step-by-step instructions on how to hold and move the dryer sheet to clean the shower door, as well as which side of the sheet should be utilized for cleaning, you can easily maintain beautifully clean shower doors without any fuss.
Furthermore, by committing to regular maintenance using a dryer sheet at least once every few weeks or so, you can ensure that your shower stays spotless all year long.