Last Updated on March 12, 2023
Don’t let your Hamilton Beach coffee maker become a hazardous haven of bacteria and nasties. Take the time to keep it clean. Regular maintenance can ensure you have delicious, worry-free brews.
Not only does the occasional cleaning of your coffee machine make each cup taste better, it could also help safeguard you against possible health concerns caused by an unclean device.
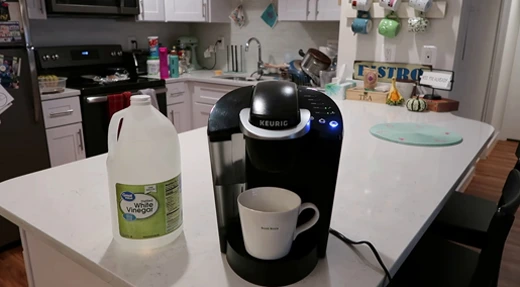
Get started with a few simple steps: unplug first then dust off all exposed areas. Next fill up the container with some vinegar and run one cycle to complete. Also keep your removable parts sparkling by giving them a good wash with some warm and soapy water.
Follow this simple guide, and you can sip on delicious cups without a worry in the world. No bacteria or contaminants ruining that perfect cup. Sounds like bliss…right?!
Hamilton Beach Coffee Maker Cleaning in 8 Easy Segments
Part A: Disconnect from Power Source:
Disconnect the Hamilton Beach Coffee Maker from any power source before cleaning it. By doing this, you can prevent electric shock and damage to the machine. You can easily accomplish this by unplugging the power cord and setting it aside, so it doesn’t impede the cleaning process.
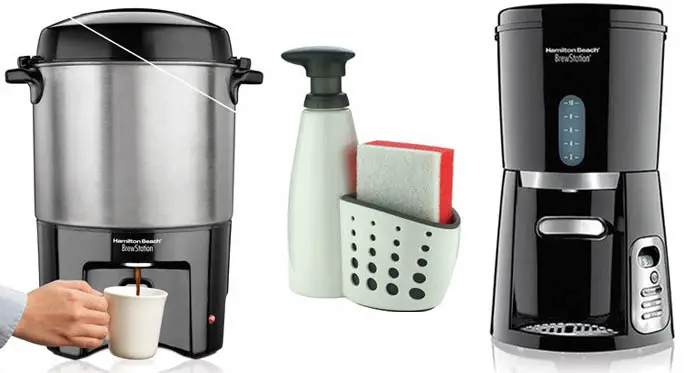
Part B: Gather Necessary Supplies and Materials:
Prepare the cleaning supplies and materials once you have disconnected the Hamilton Beach Coffee Maker and its power source.
Soft cloth or paper towels, warm water, mild detergent, white vinegar if needed, and non-abrasive scrubber tools such as sponges or cloth-covered brushes are necessary. The process will be easier and more efficient if you have these items on hand.
Part C: Empty and Rinse Water Reservoir:
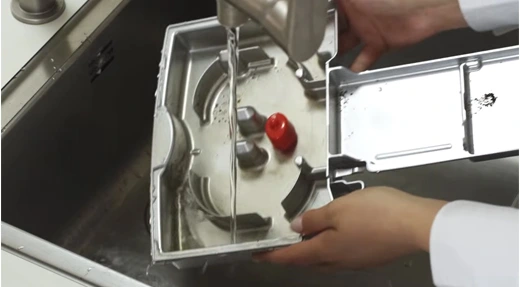
Empty the Hamilton Beach Coffee Maker’s water reservoir once you have all your supplies. Dispose of any remaining contents by unscrewing the lid and pouring them into the sink. With warm water, rinse the reservoir until there is no soap residue left.
Part D: Pre-Rinse Carafe, Lids, and Filters:
To prepare your Hamilton Beach Coffee Maker for cleaning, rinse the carafe and its accompanying lid(s) with warm water first. By doing so, you’ll remove any coffee grounds from previous brews or any oils that may have built up on their surfaces. Once your coffee maker has been cleaned, pre-rinse any filters used during brewing.
Part E: Set Up Process Area:
Plan a process area where all steps can be completed safely without spilling coffee grounds on carpeted surfaces.
By creating a designated cleaning area near a sink where all supplies are within reach, you’ll be able to clean efficiently without having to move around looking for additional items needed for each step.
Part F: Disassemble Parts of the Coffee Maker that Need to be Cleaned
Step 1:
Detach the funnel/filter holder, carafe lid, filter basket, decanter/pot lid, decanter/pot handle, and carafe handle from the machine body.
Step 2:
Carefully remove any grounds present in the filter basket with a distributor brush.
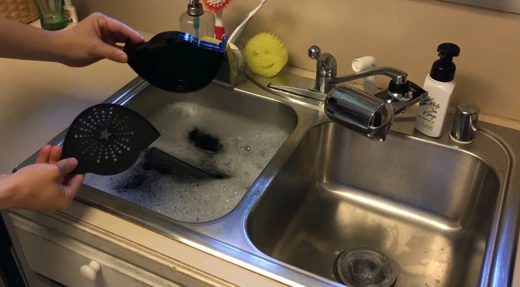
Step 3:
Rinse all removable parts in warm soapy water until clean.
Step 4:
Use a soft cloth or sponge soaked in mild detergent to wipe down the exterior surfaces of the machine, including knobs, housing, and buttons.
Step 5:
Dry each part thoroughly before moving on to the next step.
Part G: Make Vinegar Solution for Deep Cleaning
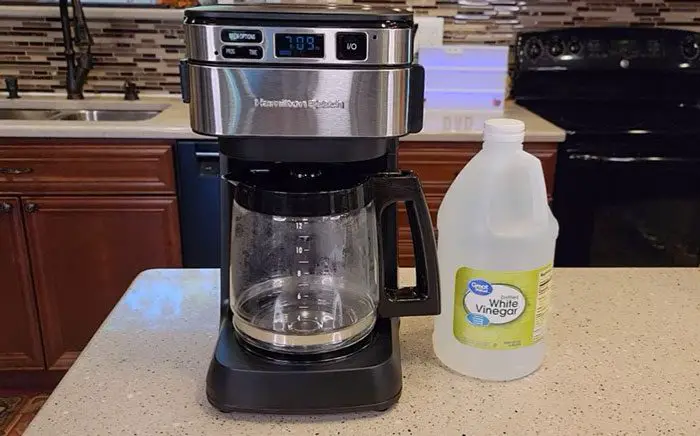
Step 6:
Mix 1 part white vinegar with two cool water in a bowl or container.
Step 7:
Use this mixture to fill up the coffee pot.
Step 8:
Allow it to sit for 20 minutes.
Step 9:
Gently scrub the inner walls of the decanter or pot using an old toothbrush.
Step 10:
Rinse clean with warm water.
Step 11:
Place parts onto paper towels to air dry.
Part H: Replace Filter & Reassemble Machine
Step 12:
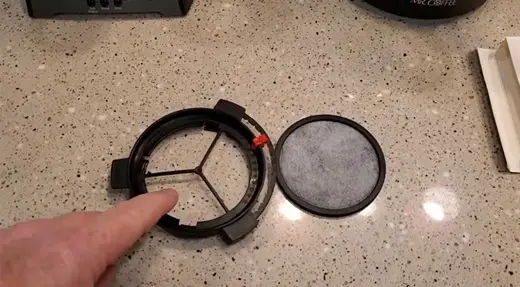
Inspect the filter and replace it if necessary.
Step 13:
Place all removable parts back into place.
Step 14:
Plug the coffee maker back into the wall outlet.
Step 15:
Turn on the coffee maker.
Step 16:
Run the cycle without adding any coffee grounds.
Step 17:
Once the cycle is complete, turn off the machine.
Step 18:
Discard using a vinegar solution.
Step 19:
Wipe down exterior surfaces one more time.
Step 20:
Serve a freshly brewed cup of joe.
What Does Clean Mean for My Coffee Maker?
The “clean” message on your coffee maker tells you it is time to run a cleaning cycle. This means that your machine needs to be decalcified or de-scaled so that it can work effectively and make good-tasting coffee.
The purpose of running a cleaning cycle is to remove any buildup of minerals, like calcium, magnesium, and iron, which accumulate over time inside the machine.
If these minerals aren’t removed regularly, they will eventually clog up the system and prevent the machine from functioning properly.
Why Should I Clean My Coffee Maker?
Cleaning your coffee maker regularly is important to keep it functioning optimally. Not only will this ensure that your machine continues to make delicious cups of coffee.
But it will also help extend its lifespan by preventing mineral buildup from damaging internal components. Regular cleaning can help protect against bacteria growth inside the machine, something which could lead to health issues if left unchecked for too long.
What are the Causes of a Coffee Maker Saying “Clean”?
When your coffee maker says “Clean,” it doesn’t always mean that the machine needs to be cleaned. It could indicate other issues, such as incorrect water levels, poorly ground beans, or not plugging in the unit. Let’s discuss these potential causes and what can be done to ensure you get the most out of your cup of coffee.
A. Buildup of Calcium, Magnesium, and Other Minerals
1. How does this happen?
Over time, hard water containing minerals such as calcium and magnesium can build up inside the coffee maker due to regular usage. This happens when the hot water used in a brewing cycle evaporates, leaving behind these minerals which can accumulate in the machine’s interior components.
2. Effects of Mineral Buildup
If unchecked, mineral buildup can clog pipes and valves within the coffee maker, leading to a poor cup of coffee or a malfunctioning machine that won’t turn on at all. In addition to these issues, it can also cause an unpleasant taste and odor in the finished product if too many minerals have been allowed to accumulate.
B. Unrinsed Carafe or Filter Basket
1. What happens if you don’t rinse?
Without consistent rinsing, remnants from previous brews may remain in your carafe after each use; this is especially true with dark roast coffees, which tend to leave more oily deposits than lighter roasts do. These residues can lead to an off-flavor or other unwanted tastes when brewed into your next cup of joe.
2. How to prevent it?
To prevent this from happening, one should always rinse their carafe out with warm water between uses, as this will help remove any residual oils that may be present from previous brews and ensure a clean cup each time.
3. What happens if you don’t rinse the Filter Basket?
If one doesn’t rinse their filter basket after every use, then old grounds might get stuck in there, which could lead to bitterness or an odd flavor profile in future cups of coffee brewed at home with that same machine.
4. How to prevent it?
To prevent this, it is important to make sure all filters are thoroughly rinsed before being reused or replaced, so that old grounds do not linger around and negatively affect the flavor of each new cup made with them.
C. Not Cleaning Out Coffee Grounds After Each Use
1. Effects of Leaving Coffee Grounds In
Over time, coffee grounds can become stuck inside your machine or filter basket if not cleaned out after every use. During brewing cycles, your machine’s components (including its heating element) fail to perform their roles, resulting in weak-tasting cups properly.
2. Cleaning Coffee Grounds Out After Use
A soft brush and hot soapy water is the best way to remove lingering coffee grounds from espresso machines. Submerge all removable parts, such as filters and portafilter baskets, into this liquid mixture.
Once the residue has been removed, brush it off. Let them dry completely before rinsing them with fresh warm water. This makes them ready for reuse or storage until needed again later.
D. Incorrect Water Level
A good cup of coffee requires a lot of water. Too much or too little water cannot fully extract the flavors and aromas of the grounds. Refer to your particular machine’s instructions for accurate measurements of the water you need.
Until you find the right strength, start with one tablespoon per cup and experiment from there. A weight-based apparatus is also available for measuring water. Using this method can result in more consistent levels between cups.
E. Poorly Ground Beans or Incorrect Grind Size
For the best flavor and aroma, grind coffee beans before brewing. While waiting to be sold, pre-ground beans lose some quality, making them less desirable for home machines.
For uniform grind sizes, burr grinders are recommended for grinding coffee beans. Some coffee makers have built-in grinders, but if not, a separate grinder should be used at home.
Make sure you use freshly-ground beans at an appropriate size when brewing a good cup of coffee, as poorly ground beans can cause over-extraction (weak taste) or under-extraction (bitter taste).
F. Not Plugging In the Machine
Before attempting any brew cycles, be sure your brewer is plugged in. It is likely that your machine will display “clean” on its screen even if no cleaning cycle has begun if it is not plugged in.
Before powering on, make sure all connections are secure and free of debris. Frayed cords on the coffee maker can cause electrical shocks or short circuits.
G . Defective Part
Coffee makers can indicate that they need to be cleaned for several reasons. An improperly sealed lid or a clogged filter is among the most common causes of the machine displaying a ‘clean’ message.
A poor descaling cycle may also result in the machine being unable to remove calcium-based buildup. Due to their age and design, older machines require special consideration.
1 . Common Defective Parts that Cause a “Clean” Message
Defective parts can cause coffee makers to display a ‘clean’ message. In order for the device to work properly again, a clogged filter will need to be replaced or cleaned.
Lids that don’t seal properly can also leak water and steam during brewing and must be replaced for the machine to work again. The machine may also be affected by faulty valves, cracked lines, and other broken components.
2 . Special consideration for older machines
When it comes to displaying a ‘clean’ message on older machines, special consideration may be needed. During brewing cycles, some models may leak due to worn-down rubber seals or O-rings.
Cracks may develop over time in plastic tanks, making them insufficient to heat up or hold enough water for brewing. If this is the case, you should have your machine inspected by a professional technician to determine if any repairs are needed.
H . Improper Descaling Cycle
1 . What is Coffee Machine Descaling?
When a coffee maker tells you it needs to be cleaned, there can be several different causes. The most common cause is that the machine has not been descaled regularly, which can clog up and reduce the machine’s performance.
Other causes include the build-up of oils left behind from coffee beans, mineral deposits from hard water, or just general wear and tear over time.
2 . Why Do You Need to Descale Your Machine?
Descale your coffee maker regularly to extend its lifespan. Descaling prevents limescale buildup inside the machine and reduces its efficiency. Descaling can also prevent mechanical parts from rusting or corroding due to mineral deposits in the water. Regular descaling will help you keep your machine running smoothly and make sure your coffee tastes great every time.
3 . Benefits and Drawbacks of Using Commercial Descalers
Comparing commercial descalers to vinegar or citric acid solutions, commercial descalers offer numerous benefits, such as saving time, effort, and money.
As commercial descalers are designed specifically for use with coffee makers, they require less frequent maintenance than other methods.
Compared to other options available on the market today, certain commercial descalers could be quite expensive.
4 . Proper Steps for Descaling Your Machine
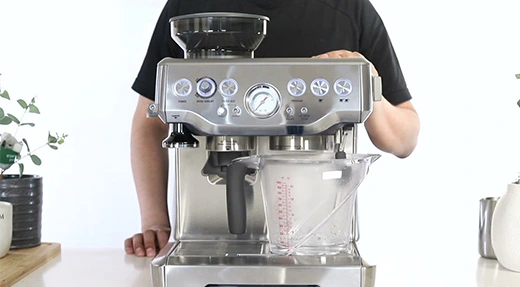
Fill the water reservoir with the recommended amount of liquid solution according to manufacturer instructions when descaling your coffee maker with a commercial descaler.
Once this is done, run your machine through one cycle so that any residue in bits can be properly mixed before brewing your coffee. Before refilling fresh water for regular use, rinse out any remaining solution.
Conclusion
We believe this guide will help you achieve the perfect brew each and every time. Keeping your coffee maker in tip-top shape is no small feat, but with a few simple steps, it’s totally doable. Clean coffee makers are key to keeping your morning routine running smoothly.
Unplugging before you clean is the first step, and if something’s stuck, don’t force it, or you might need an upgrade. Thankfully these days, reliable kitchen machines aren’t hard to come by. So make sure to pick one that will last when shopping around this time for the best sips of joe in town.