Last Updated on September 6, 2023
Electric water heaters come in several types, including tankless (on-demand) and tank-type (storage) water heaters. Cleaning these heaters’ heating coils or elements is essential to maintain efficiency and prolong lifespan. Now, you might want to know how to clean electric water heater coils.
To begin with, turn off the power to the unit to ensure your safety during the cleaning process. Next, isolate the water supply by shutting off the valves connected to the heater.
Then, carefully remove any scale or mineral buildup from the coils using a descaling solution or a vinegar-water mixture. After that, flush the system thoroughly with clean water to remove any remaining debris.
This article will explain how to clean those stubborn electric water heater coils and restore your hot water supply to its former glory. With our step-by-step guide, you’ll be able to tackle this task with ease and efficiency.
How Do You Clean Electric Water Heater Coils?
Before we dive into the process, let’s understand the types of water heaters.
- Tankless water heaters heat the water as it flows through the unit, providing hot water on demand. They are more energy-efficient and take up less space than tank-type water heaters.
- On the other hand, tank-type water heaters store a large amount of hot water in a tank, ready for use whenever you need it. They are typically less expensive upfront but may consume more energy to keep the stored water hot.
Let’s start with tankless electric water heaters.
1. Tankless (On-Demand) Water Heaters
Follow these key steps to properly clean the electric water heater coils in your tankless (on-demand) water heater.
Step 01: Turn off the Power
Locate the circuit breaker or disconnect switch that controls the water heater. Flip the switch to the ‘off’ position or turn off the corresponding breaker.
Step 02: Isolate Water Supply
Ensure you’ve closed the water supply valve to prevent water from flowing through the heating coil during cleaning. It will avoid any accidents or damage to the electrical components of your electric water heater.
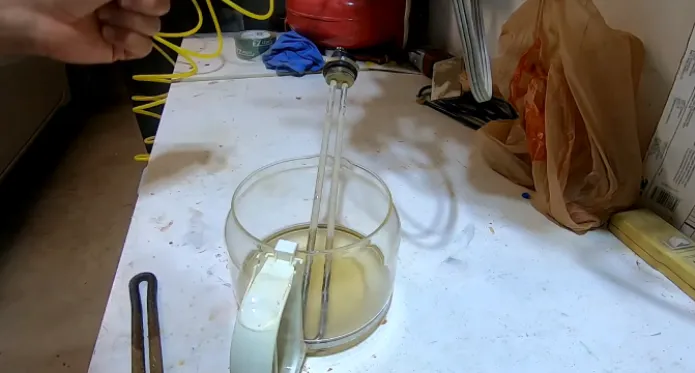
Step 03: Remove Scale
Once you’ve isolated the water supply and closed the valve, attach hoses carrying a descaling solution to the inlet and outlet of your water heater.
Fill the hoses with the solution and start the flow through the coil. This will help dissolve mineral deposits that can build up on the coil’s surface. Ensure sufficient time for the solution to circulate and remove the scale from the coil effectively.
Step 04: Flush the System
To ensure proper system cleaning, you must disconnect the hoses and flush out any remaining solution and loosened deposits from the coil with clean water. It will effectively remove all traces of the descaling solution and dislodge any remaining scale or sediment from the water heater coil.
Flushing the system ensures that your electric water heater coils are thoroughly cleaned and ready for optimal performance.
Step 05: Restore Water Supply
After reconnecting the water supply valve, ensure it’s fully open to resume the system’s normal functioning. The water valve allows water to enter the system and circulate through the coils, facilitating their cleaning process.
Step 06: Power On
Locate the power switch or breaker for the water heater and flip it to the ‘on’ position.
Once the power is restored, listen for any unusual noises coming from the coil and inspect it visually for any signs of damage or corrosion. If everything looks and sounds normal, you can proceed with cleaning the electric water heater coils.
Now, it’s time to go for tank-type electric water heaters.
Tank-Type (Storage) Water Heaters
To properly maintain your tank-type (storage) water heater, there are five key steps you need to follow.
Step 01: Turn off the Power
First, you’ll need to shut off the power supply to your water heater to safely clean the coils. Just locate the circuit breaker or fuse box and switch off the corresponding breaker or remove the fuse for the water heater.
Step 02: Shut off the Water Supply
Once the power is off, you’ll want to close the cold/normal water supply valve. This prevents any additional water from entering the tank and coming into contact with the water heater coil.
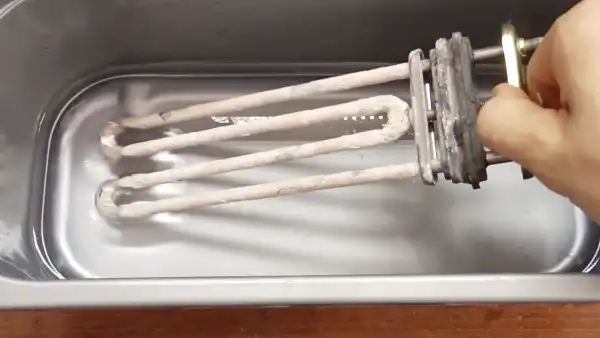
Step 03: Drain the Tank
Attach a hose to the drain valve at the bottom of the tank and let the water drain out, including the water surrounding the coil. This step ensures that all stagnant water, sediment, and debris are flushed out effectively.
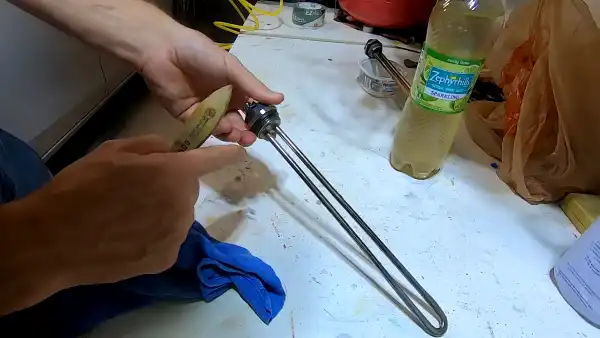
Step 04: Inspect and Remove Sediment
To effectively inspect and remove sediment, you should exercise caution to avoid damaging the coil while gently cleaning around it. Carefully examine the bottom of the tank for any deposits and use a suitable tool to remove them gently.
You can use a brush and sponge or wire mesh to scrub away the deposit. Be sure to pay close attention to hard-to-reach areas, as these can be hotspots for sediment buildup.
Take your time and ensure that all sediment is thoroughly cleaned to optimize the performance of your electric water heater.
Step 05: Refill and Flush
Make sure you close the drain valve. Then, open the cold water supply valve to refill the tank partially. Refilling the tank allows water to flow through the system and helps flush out any remaining sediment or debris that may have been dislodged in previous steps.
This ensures your water heater coil area is clean and ready for optimal performance.
Step 06: Restore Power
Now that the tank is refilled and flushed, it’s time to restore power to your electric water heater. Make sure all valves are closed before turning on the power.
Locate the circuit breaker or switch connected to your water heater and flip it back to the ‘on’ position. Wait for a few moments as the unit powers up, then check for any signs of proper operation, such as hot water flowing from faucets.
How do I know if my water heater coil is bad?
When your water heater coil malfunctions, you will experience insufficient hot water, inconsistent water temperature, unusual noises, or rusty water. Also, if you notice that your water heater is taking longer to heat the water or experience a sudden increase in energy bills, it might indicate a faulty coil.
Regular cleaning is essential to maintain the coil’s efficiency, as mineral deposits and sediment can accumulate over time, hindering its performance. If you encounter any of these issues, cleaning or replacing the coil can help restore your water heater’s functionality and improve its lifespan.
Supercharge Your Electric Water Heater by Cleaning It
Cleaning electric water heater coils is necessary to ensure optimal performance and longevity of your appliance. Regularly removing sediment buildup can prevent heating inefficiency and potential damage to the heating elements.
Remember to turn off the power supply before starting the cleaning process for safety purposes. Following these steps will help you maintain a clean and efficient electric water heater, providing hot water whenever needed.
So don’t hesitate to give your coils some TLC and enjoy uninterrupted hot showers.