Last Updated on March 4, 2023
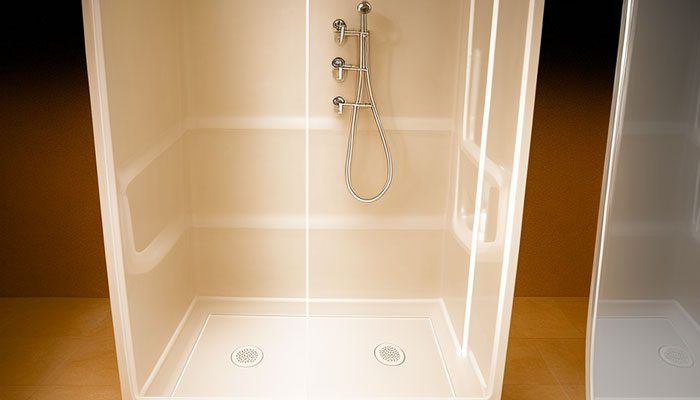
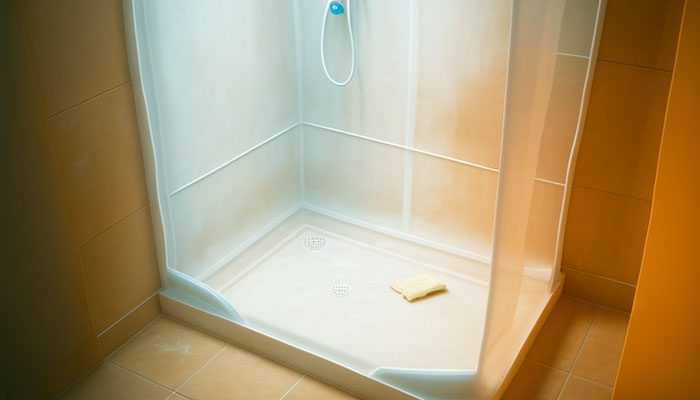
Revive your bathroom’s luminescence with a good scrub. Regular cleaning can help ward off soap scum, mineral buildup, and mold. All of which can cause plastic surfaces to become unsightly yellowed over time. Reach for the right commercial cleaner to restore your shower stall’s pristine shine.
Make life easier with a simple cleaning trick. Many everyday kitchen items can be combined to craft an effective and practical solution that will make your shower stall look new.
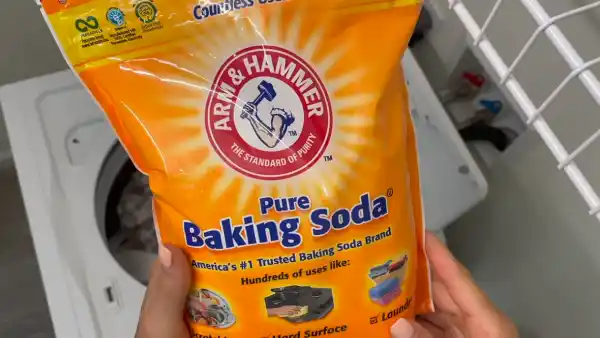
By combining baking soda and vinegar, you can create a paste to easily restore the sheen of your plastic shower stall eliminating discoloration in no time.
Let’s explore a cost-effective way to lick stains off your yellowed plastic shower stall. Not only is this cleaning method highly efficient, but it can be finished with just a few simple steps that won’t break the bank or take up too much of your precious time.
How To Clean Yellowed Plastic Shower Stall: Easy Methods
There are several methods that can be used to clean a yellowed plastic shower stall. The methods for cleaning a yellowed plastic shower stall are different in terms of the materials and tools used, as well as the effort and time required. Here’s a comparison of the methods:
Method 01. Using a specialized cleaner
This method typically requires the least amount of effort and time, as the cleaner is specifically designed to remove discoloration from plastic surfaces. It’s easy to use, but the effectiveness may vary depending on the type of cleaner and the severity of the discoloration.
Method 02. Baking soda and vinegar
This method requires more time and effort as you combine the vinegar and baking soda to create a cleaning paste and then scrub the yellowed areas. This method is relatively cheap and effective.
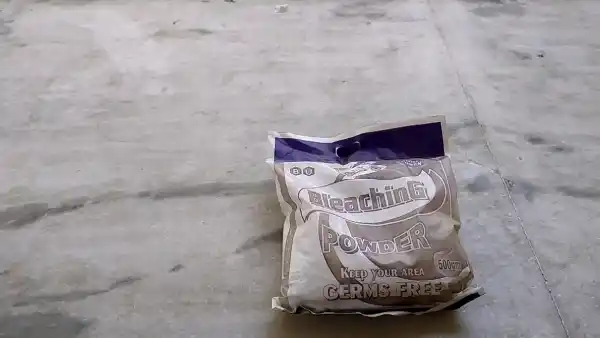
Method 03. Bleach solution
The method requires the use of bleach, a powerful cleaning agent. It can effectively remove yellowing, but it should be used cautiously, as bleach can damage plastic surfaces if not used according to the manufacturer’s instructions.
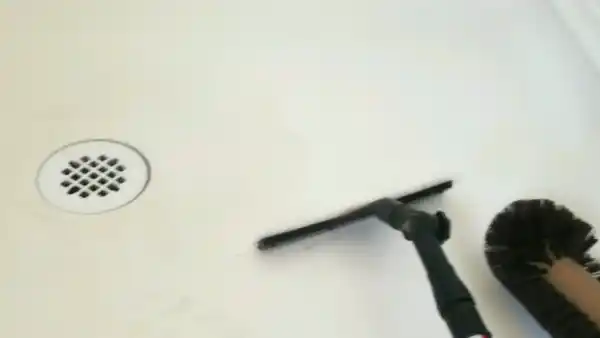
Method 04. Scrub brush and mild detergent
This method requires more effort and time, as you must scrub the yellowed areas with a brush and detergent. This method is effective in removing yellowing but can be tiring.
Method 05. Magic Eraser
This method is similar to the specialized cleaner. It’s easy to use and effective. You only need to rub the yellowed area with the eraser gently. It can remove stains and yellowing effectively.
Step-by-Step Guide for Cleaning with Baking Soda and Vinegar
Gather Materials
Specialized Cleaner: Make sure you have all of the necessary cleaning materials on hand, including a plastic-friendly cleaner, a cloth or mops, and a bucket.
Baking Soda and Vinegar: Before you begin, gather all the materials you will need, including baking soda, white vinegar, a mixing bowl, a clean cloth or sponge, and a scrub brush.
Bleach Solution: You will need a plastic tub-like container, a scrub brush, rubber gloves, and a solution of bleach and water. The solution should be made with 1 part bleach to 10 parts water.
Scrub Brush and Mild Detergent: You will need a bucket, a scrub brush, a mild detergent, rubber gloves, and a squeegee or cloth that is clean.
Magic Eraser: You will need a Magic Eraser, a bucket of warm water, and a clean cloth or squeegee.
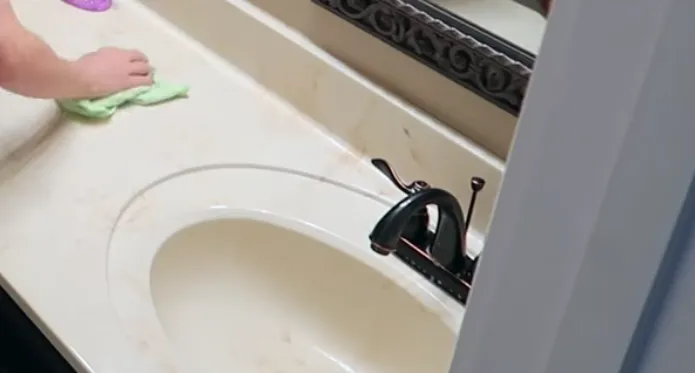
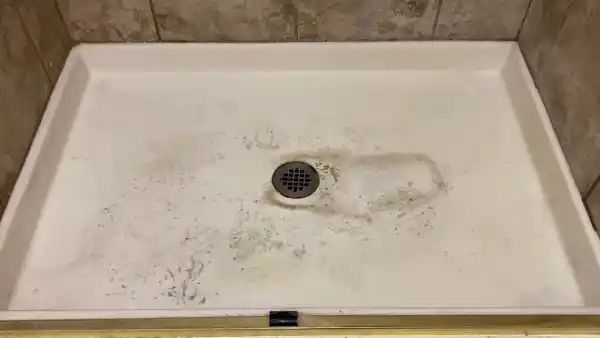
Prepare the Surface
The next step is to prepare the surface for cleaning. Begin by wiping down the shower stall with some warm water and soap. This will help remove any dirt and debris that build up on its surface over time.
Make sure to give it a good scrub with your scrub brush or sponge to ensure it is completely clean before continuing with further steps. It is also important to thoroughly rinse any soap residue with warm water so it doesn’t interfere with the cleaning process later.
Specialized Cleaner
- Apply the cleaner: Read the instructions on the cleaner carefully, and dispense it to the yellowed areas of the shower stall according to the manufacturer’s instructions. Some cleaners may need to be diluted with water before use, while others may be used straight out of the bottle.
- Let the cleaner sit: Allow the cleaner to sit on the yellowed areas for the amount of time recommended in the instructions. This will give the cleaner time to break down and remove the discoloration.
Mix the Baking Soda and Vinegar
- Mix the solution: In a spray bottle, mix equal parts of baking soda and white vinegar. Shake the bottle well to ensure the ingredients are well combined.
- Apply the solution: Spray the solution generously onto the yellowed spots of the plastic shower stall.
Bleach Solution
- Apply the solution: Use a scrub brush to apply the bleach solution to the yellowed locations of the plastic shower stall. Be sure to saturate the affected areas thoroughly.
- Allow the bleach solution to sit: Leave the bleach solution for at least 15 minutes. This will give the bleach a chance to work on the discoloration.
Scrub Brush and Mild Detergent
- Mix the detergent: Fill a bucket with warm water and add a small amount of mild detergent.
- Apply the solution: Dip the scrub brush into the detergent solution and apply it to the yellowed zones of the plastic shower stall.
- Allow the detergent solution to sit: Let the detergent solution stand for a few minutes. This will give the detergent time to work on the bruise.
Magic Eraser
- Wet the Magic Eraser: Dip the Magic Eraser into the bucket of warm water and squeeze out the excess water.
- Apply the Magic Eraser: Rub the Magic Eraser over the yellowed areas of the plastic shower stall. Be sure to apply a small amount of pressure to work the eraser into the plastic to remove any discoloration or buildup.
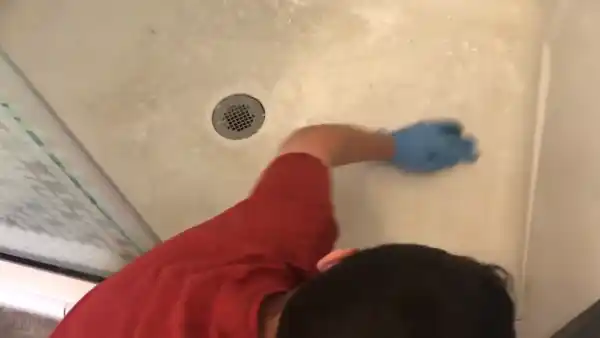
Scrub The Surface
After allowing enough time for your paste to settle and properly do its job, begin by scrubbing away any stubborn dirt particles still on its surface using either a cloth rag or paper towel, or scrub brush, depending on how much pressure needs to be applied during this process.
Work in circles as much as possible and use extra elbow grease when needed. Just remember not to press too hard, as you don’t want to damage the material of your shower stall during this procedure.
Rinse The Surface
Once all scrubbing is finished, grab some clean, warm water and give everything one final rinse. This will help remove any leftover residue from earlier steps and any excess dirt particles clinging to its walls. So make sure you take proper care when completing this step of our guide.
Dry The Surface
After everything has been rinsed off properly, leave no wet patches behind. Grab some dry rags or paper towels and dry each area of the yellowed plastic shower stall carefully until completely dry again.
To ensure maximum results here, make sure you go slowly over each section one at a time instead of rushing through them all quickly in order not to miss any spots during this process.
Inspect The Shower Stall Surface
Lastly, once everything has dried off properly. Grab yourself an inspection light, or simply turn on an overhead light.
Examine each corner/crevice/area closely for signs of dirt patches still present that may have gone unnoticed earlier during our cleaning procedure.
Once found, use our previously mentioned tools or materials once more until fully cleaned out. Then wrap things up for the time being and move on to other projects elsewhere around the house if needed afterward.
Reassessing After Finishing Shower Stall Cleanup Process
After you’ve completed a shower stall cleanup process, it’s essential to reassess your work to ensure that everything has been done correctly. Here are some tips for how to reassess after finishing the shower stall cleanup process:
- First, take a good look at the entire shower stall, paying attention to all of the nooks and crannies. Ensure all dirt and grime have been removed, including any mold or mildew.
Check for any areas where soap scum may have accumulated, and make sure these have also been completely removed.
Also, check the walls and floor of the shower stall for any signs of discoloration or damage that may have occurred during the cleaning process.
- Second, check all fixtures and fittings within the shower stall, such as taps, knobs, and handles. Make sure they are securely fitted with no visible rust or corrosion.
Ensure that all connections are tight so that water does not leak out when using the shower stall.
Additionally, take a look at the drainage system beneath the shower stall to make sure it is correctly connected and functioning correctly.
- Third, if there are any tiles in your shower stall, then thoroughly inspect these too for any signs of damage or deterioration from exposure to moisture over time.
If there is any chipping or cracking, then replace these tiles as soon as possible to prevent further water damage from occurring over time.
- Finally, once you’re happy with your inspection results, run a final rinse with cold water before leaving the area.
After you’re done cleaning up your shower stall it’s important to take the time to do a thorough assessment. Doing this can help avoid any potential problems that could lead to costly repairs down the line that come from missing something.
Taking the time to review your work every once in a while can help ensure that everyone is happy with their cleaning experience. That way both you and your customers are provided with quality results each time.
Maintenance Tips For Keeping Shower Stall Looking Pristine

01. Regular cleaning
Wipe down the shower stall walls and surfaces with a damp cloth or sponge after each use to remove any soap scum or grime. Clean the shower stall once a week with a specialized cleaner or a combination of baking soda and vinegar to keep it looking fresh and sparkling white.
02. Use a squeegee
After each shower, use a squeegee to remove excess water from the walls and surfaces of the shower stall. This will prevent water spots and minimize the build-up of soap scum.
03. Use a shower curtain
Use a shower curtain to contain water and minimize the amount of water that splashes onto the surfaces of the shower stall.
04. Avoid abrasive materials
Avoid using abrasive materials, such as steel wool or scouring pads, which can scratch and damage the plastic surface of the shower stall.
05. Ventilation in the Bathroom
Make sure that the bathroom is well-ventilated. This will help to prevent the build-up of mold and mildew, which can stain and degrade the plastic surfaces of the shower stall.
06. Keep it dry
After each shower, wipe down the surfaces and walls of the shower stall with a dry cloth to remove any excess water and prevent water spots.
07. Use a Shower Mat
To avoid standing water and keep the shower stall clean and dry, use a shower mat or place a non-slip rug at the bottom of the shower stall.
08. Use a water softener
Hard water can cause mineral buildup on the shower stall, which can discolor and damage the surface. Using a water softener can help to prevent this buildup.
09. Use a fan
Use a fan during and after showering to help circulate air and keep the bathroom dry.
10. Regularly check for leaks
Regularly check the shower stall for leaks, which can cause water damage and discoloration of the plastic surfaces.
How Do I Get My Plastic Shower White Again?
Baking soda and vinegar are the best ways to restore a white plastic shower’s shine. Take 1 cup of baking soda and mix it with warm water and stir until it forms a paste-like consistency.
Then take 4 cups of white vinegar and add it to the baking soda paste, and stir. Apply the mixture to the shower walls using a soft cloth or sponge, rubbing in circular motions for about 2 minutes.
Rinse off the solution with clean water before drying with a towel or squeegee. This will restore the original whiteness of your plastic shower.
How Do I Make My Plastic Shower Look New?
Making your plastic shower look new again can be achieved by deep cleaning it on a regular basis with mild detergents or non abrasive cleaners specifically designed for this purpose.
Start by spraying the shower walls with warm water, then spray on some mild detergent or non-abrasive cleaner to create suds. Use a soft brush or sponge to scrub dirt, grime, and soap scum from all wall surfaces, rinsing off the solution once done.
Once rinsed, dry off all surfaces with a towel or squeegee before buffing them up with some glass cleaner and cloth if desired.
What Is The Easiest Way To Clean A Plastic Shower?
The easiest way to clean plastic showers is by mixing baking soda and vinegar, as mentioned previously.
Another option is a store-bought solution containing special ingredients designed to quickly remove dirt and grime without leaving any residue or streaks.
Simply spray such cleaners directly onto your walls before wiping them off with a sponge or cloth dampened with water for best results.
Can You Use Vinegar To Clean An Acrylic Shower?
You can use vinegar for cleaning acrylic showers. It is advised that you dilute it in hot water before applying so that it does not damage its surface due to its acidic nature.
Mix white vinegar with four parts of water into a large bucket for optimal results in your acrylic bathroom walls. Then use a soft cloth or sponge to wipe down all surfaces and rinse them off using lukewarm water before drying immediately with towels or squeegees.
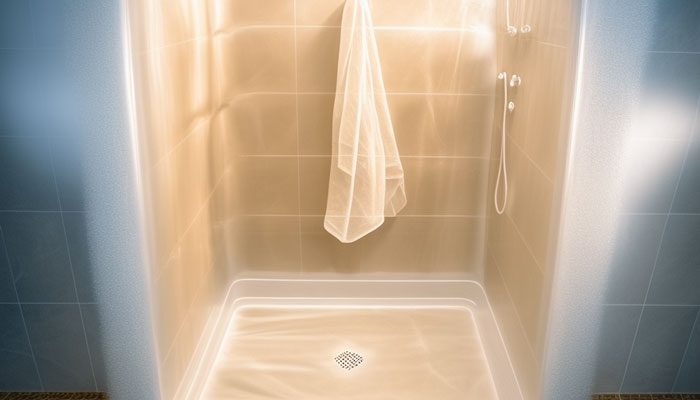
Say Goodbye to Yellowed Plastic Shower Stalls
Yellowed plastic shower stalls can be a real eyesore, but with suitable cleaning methods, they can be quickly restored to their original whiteness. Whether you use a specialized cleaner, a mixture of baking soda and vinegar, a bleach solution, a scrub brush, mild detergent, or a magic eraser.
It’s essential to test a small area first before applying any cleaning solution to the entire surface, and also to be cautious when using any harsh chemicals like bleach.
With regular cleaning and maintenance, you can keep your shower stall looking fresh and sparkling white for years. Remember that each cleaning method may have different results on different materials, so always test a small area before applying it to the entire surface.