Last Updated on October 16, 2023
Don’t let limescale dull the beauty of your bathroom. That unsightly white film is a common nuisance and can be easily dealt with. Limescale buildup doesn’t stand a chance against our powerful solutions, ensuring your shower tiles never lose their shine.
Here’s the solution if you’re looking for an effective and efficient way to banish that stubborn white film from your shower tiles. A vinegar solution or a baking soda paste combined with lemon juice can help dissolve the limescale rapidly.
With these easy-to-follow tips, it won’t take long before you say goodbye to the unsightly blemishes.
This guide offers a foolproof combination of baking soda paste, lemon juice, and clever cleaning tips for keeping it looking spotless. Let’s begin the revitalization process now.
How to Clean White Film Off Shower Tile: Simple Methods
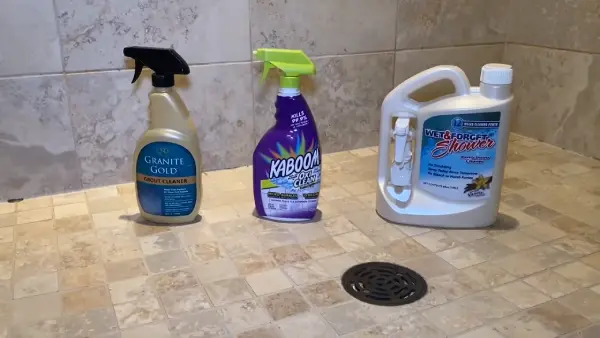
When dealing with a white film on shower tiles, it is important to take the proper steps to ensure that the job is done correctly. To properly clean off any white film from shower tiles, one should follow these steps:
Method One: Use a Vinegar Solution
Gather Materials:
- Sponge or cloth
- Scrubbing brush
- Vinegar
- Spray Bottle
- Gloves (optional)
Step One: Prepare the Surface Area for Cleaning
Before beginning the cleaning process, it is essential to ensure that the surface area is properly prepared. This can be done by using a vacuum cleaner or soft bristle broom to remove any loose particles from the surrounding area.
Aside from that, any excess water should be removed with a dry cloth or paper towel. Taking these steps will help ensure that no dirt or grime will interfere with the cleaning process.
Step Two: Make the Solution a Reality
An effective solution must be made to successfully remove white film from shower tiles. For this, one should combine one cup of warm water, two cups of white vinegar, and one teaspoon of dishwashing soap in a spray bottle.
This combination of ingredients will help break down and dissolve even some of the most stubborn stains and residues.

Step Three: Scrub Away the White Film
Once the solution has been made, it is time to scrub away any remaining residue. When doing this step, it is important to ensure that only non-scratch pads or brushes are used to not damage the tile’s surface.
Working in circular motions when applying tools to the surface may also be beneficial due to its consistency in pressure and motion when working through tough spots and stains. You can use an old toothbrush for areas that are too small for a regular brush or pad.
Step Four: Rinse Away Effectively
After you have finished scrubbing away at the white film, it’s time to rinse away any remnants of your cleaning solution. Start by rinsing off with warm water until all suds have been removed from your clean shower tile surface.
Then turn off the faucet and go back over it with a squeegee or microfiber cloth until all surfaces appear completely dry. In the end, take one last look over everything to ensure no streaks remain from where you have cleaned.
Method Two: Paste of Baking Soda And Lemon Juice
Supplies Needed for Cleaning:
- Baking soda
- Lemon juice
- Cleaning cloths
- Bucket/bowl for mixing solution
- Sponge/scrub brush for scrubbing tile surface
- Protective gloves and face mask (optional)
Step One: Get the Paste Ready
To make a lemon-baking soda paste to remove white films from shower tiles, use equal parts of each ingredient. Start by adding ¼ cup of baking soda into a mixing bowl. Squeeze one lemon over the baking soda, or use ¼ cup of freshly squeezed lemon juice.
Stir the ingredients together with a spoon until they form a thick paste. Use your hands to mix if needed to get rid of any clumps in the paste. It is important not to add too much liquid as this could make the paste runny and ineffective.
If needed, gradually increase the amount of lemon juice until you get a thick paste-like consistency.
Step Two: Put the Solution to Work
Now that you have your cleaning solution prepared, it’s time to put it to work. Wet all surfaces thoroughly with a sponge or scrub brush before applying the mixture to affected areas of shower tiles.
Once all surfaces are wet, apply the solution generously over tile surfaces and allow it to sit for up to 15-20 minutes. The longer it sits on areas where the white film has built up, the more effective it will be in removing tough stains and residue from shower tiles.
Step Three: Rinsing Away Soapy Solution
After waiting 15-20 minutes, you can take your garden hose sprayer attachment and wash away the soapy solution from your shower tiles. Make sure you are spraying at full force, so all of the residues are removed from each tile’s surface area.
If any spots are left on your tiles, try using a bucket of hot water and a sponge or scrub brush. This will help remove any stubborn buildup or grime that has accumulated over time.
Step Four: Drying Affected Areas
The final step is drying off any residual moisture left on tiles after rinsing them down with water and soap mixture. Use a dry towel or paper towel to gently wipe down each surface area until no more moisture remains. Leaving behind freshly cleaned shower tiles without any leftover white film or soap residue.
It is essential not to leave any excess moisture on surfaces as this could lead to new white film forming overtime again in future cleanings.
Are there Positive Outcomes of Cleaning White Film off Shower Tile?
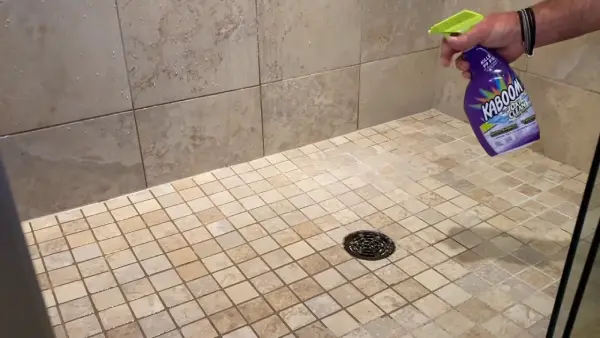
Cleaning white film off shower tiles can provide numerous positive outcomes. Here are a few of the positives outcomes:
Immediate Improvement in Visual Appeal
- Gleaming and refreshed look
- More inviting ambiance
Enhanced Durability Over Time
- Removal of harmful residues protects porosity
- Easier Maintenance reduces the risk of further damage
- Increased durability of surface material
Improved Hygienic Conditions
- Elimination of unsightly grime and germs
- Safer environment for children, pets, and guests
- Cleanser disrupts bacterial growth, resulting in a safer environment
- No Longer Traps Soil and Dirt Particles
- Preventing mold buildup
Cost Savings in the Long Term
- Prevention is better than cure with regard to cleaning supplies expenses
- Avoidance of more serious repairs and replacements
- Fewer professionals services needed
Ease and Convenience of Maintenance
- Cleaner surface allows for quick and effective cleansing
- A more efficient way to achieve desired results with less effort
- The surface can be easily monitored for future cleanings
Why Does White Film Appear On Shower Tiles?
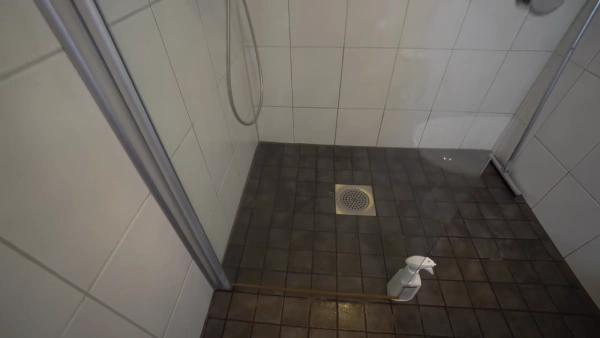
The appearance of white film on shower tiles is a common problem. While this problem is widespread, the causes are varied, and understanding them is key to resolving it.
These three things most likely cause white films on shower tiles:
Hard Water Buildup or Staining
Shower tiles with the white film are one of the most common issues homeowners face, and hard water buildup and staining are common culprits. Hard water stains are caused by dissolved minerals, such as calcium and magnesium, that are present in the water supply.
When this water evaporates on bathroom surfaces such as showers, it leaves behind white deposits, which can accumulate over time and create a white film or haze on the surface.
To remove hard water stains from causing white films on shower tiles, homeowners should invest in a good quality water filter for their homes. That can help reduce the number of minerals in their drinking and bathing water.
This will not only reduce the appearance of the white film but also protect other surfaces from damage due to mineral deposits. Regular cleaning with the methods mentioned above helps reduce any existing white film build-up.
Soap Scum Accumulation on Stone, Ceramic, and Porcelain Surfaces
Soap scum accumulation is another common cause of films on shower tiles. The hard water supply in the shower produces soap scum when soap mixes with minerals. When someone showers repeatedly, the greater the chance there is for soap scum to accumulate on surfaces.
An effective way to clean soap scum from accumulating on tile surfaces is to use an anti-scaling agent regularly when showering. This will help break down any buildup that has accumulated before it starts forming into a large visible layer that cannot easily be removed with basic cleaning methods alone.
Also, weekly cleaning with mild detergents or natural vinegar solution can act as an effective preventative measure against long-term soap scum accumulation.
Mold and Mildew Growth Within Grout Lines
Mold and mildew can also cause white films to appear on tiled walls and bathroom floors. This happens when the mold and mildew start growing in cracks between tile grout lines. The mold and mildew spread out over larger areas, causing the tiles to look discolored.
Mold & mildew also require more moisture than other forms of bacteria, making them even more likely candidates for causing problems in wet environments like showers.
A good way to avoid mold and mildew is to clean it regularly. You can use a spray or wipe it down with a cloth. Make sure there is good air circulation in your shower too.
Make sure to use fans when taking showers or baths instead of just relying on open windows. This will help prevent moisture from getting trapped in tight spaces or around wall fixtures.
How often should you take off the white film from shower tiles?
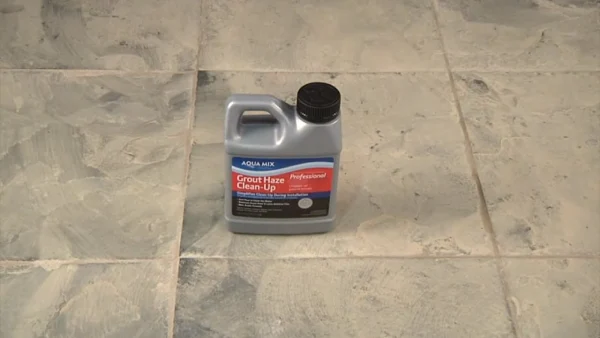
The frequency of cleaning the white film off shower tiles will depend on the level of humidity in your bathroom and how often it is used. Generally speaking, cleaning the shower tile with white film every 2-4 weeks is recommended.
This is because high humidity can cause soap scum, body oils, and other debris to accumulate on the surface and start forming a white filmy layer. The best way to remove this layer is by using the non-abrasive cleaner mentioned above.
If you don’t clean it regularly, the white film will become thicker and more difficult to remove. If manual scrubbing doesn’t work, you might need an electric scrubber or chemical cleaner targeting calcium deposits or soap scum.
Are shower tiles prone to get a white film from high humidity levels?
Yes, high humidity levels can cause shower tiles to develop a white film. This is because the evaporating water leaves behind mineral deposits that form a visible film on the tile surface over time. The most common minerals responsible for this are calcium carbonate, sodium chloride, and magnesium sulfate.
To prevent this build-up, it’s crucial to ensure air circulates around the tiles and walls of your bathroom, as well as keep humidity levels below 50%. Further, regularly cleaning and scrubbing your shower tiles will help to remove any existing buildup.
Suppose the white film persists despite regular cleaning. In that case, as mentioned above, you may need to use a stronger cleaning product that includes mild acids such as vinegar and lemon juice or an oxygen bleach like hydrogen peroxide or oxy clean.
Do Pumice Stones Remove White Film From Tiles and Grout?
A pumice stone works to get rid of the white film by abrading the surface. Its abrasive nature effectively removes the stubborn and excessive buildup of soap scum, limescale, hard water deposits, and other residues that can leave an unsightly white film on tile surfaces.
The rough texture of the stone allows it to scrape away dirt, grime, and other unwanted buildups without damaging the underlying surface. Furthermore, the stone’s abrasive properties also break up any mineral build-up that could be causing discoloration or staining.
Pumice stones are particularly effective when used in combination with a cleaner designed for tile surfaces. This helps to lift and loosen residue before scrubbing it away with the stone’s abrasive action.
Unveil Sparkling Shower Tile: Get White Film Off
Getting rid of white film on your shower tile doesn’t have to be difficult. It can be straightforward with the right knowledge and cleaning solutions.
We hope that this blog post has provided you with helpful information on understanding what causes limescale build-up and how to remove it effectively and safely.
Remember, regular cleaning is also crucial for maintaining clean and hygienic surfaces throughout your house, especially when it comes to showers. So don’t forget to set up a routine maintenance schedule as part of your normal household chores.

