Last Updated on March 5, 2023
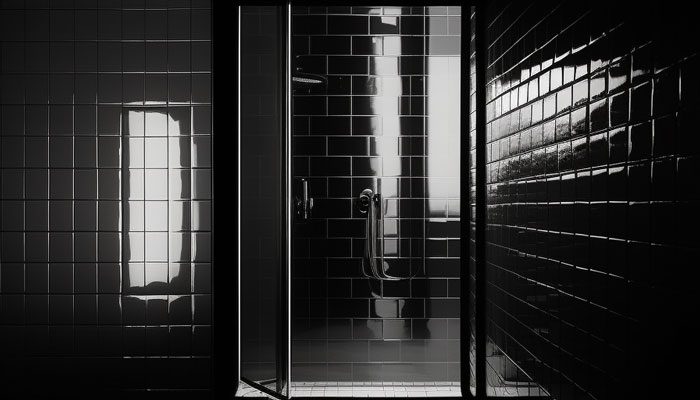
Keeping black shower tiles pristine can be a challenge. However, with the right supplies and this comprehensive guide, you’ll soon learn masterful cleaning techniques. Transform your bathroom into an oasis of sparkling cleanliness.
Gather the required materials and tools to bring your shower tiles back to life. Prepare them, create an effective cleaning solution, scrub away dirt with vigor, then rinse and dry before polishing for a sparkling finish.
Follow these simple steps and watch as they go from dull to dazzling. With the right supplies, you can keep them looking fantastic in no time.
How To Clean Black Shower Tiles: Easy Steps
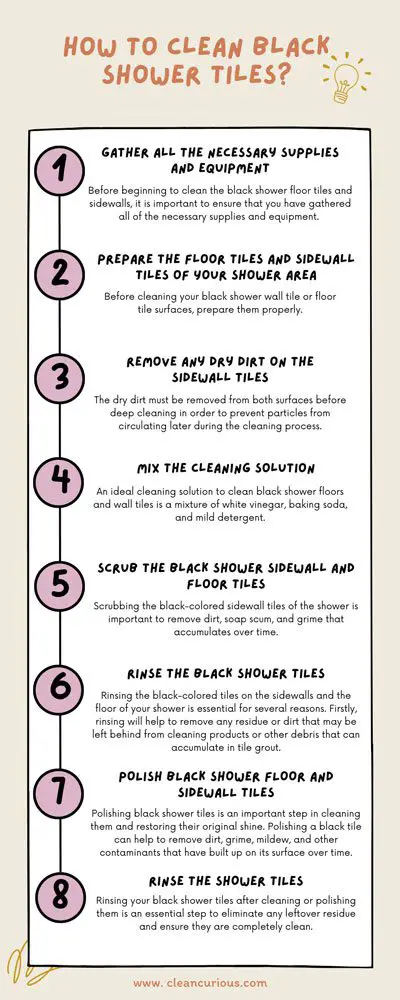
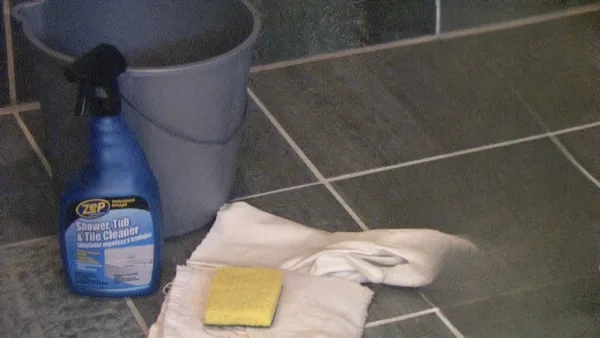
Step 01. Gather all the Necessary Supplies and Equipment
Before beginning to clean the black shower floor tiles and sidewalls, it is important to ensure that you have gathered all of the necessary supplies and equipment. This includes:
- A non-abrasive scrubbing brush
- A soft cloth
- A vacuum cleaner with an appropriate attachment
- A mild detergent or cleaning solution
- A bucket of warm water (or two if needed)
- Rubber gloves
- Goggles (if needed)
- A sponge or squeegee (optional)
- Paper towels
- Lint-free cloths
- Microfiber mop heads (optional) as well as
- Cleaning clothes.
Step 02. Prepare the Floor Tiles and Sidewall Tiles of Your Shower Area
Before cleaning your black shower wall tile or floor tile surfaces, prepare them properly. Properly preparing your black shower walls or floors before proceeding with their cleaning is important for several reasons.
- Firstly, it will remove excess dirt, which may be trapped in crevices between each tile surface and can become difficult to remove once more dirt accumulates.
- Secondly, it will allow you complete access to each surface area so that you can better understand how best to clean it.
- Thirdly it will help prevent damage from occurring due to using too much force when attempting to rid stubborn stains on either surface area.
- Finally, proper preparation helps ensure you get optimum results from your eventual deep to cleanse processes.
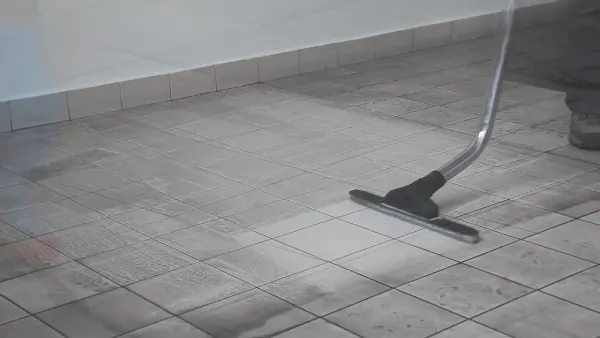
Step 03. Remove Any Dry Dirt on the Sidewall Tiles
The dry dirt must be removed from both surfaces before deep cleaning in order to prevent particles from circulating later during the cleaning process. This will help prevent damage or the surfaces from becoming stuck together due to moisture released during steamy showers.
For dry dirt removal processes to work effectively, it’s recommended that you make use of either vacuum cleaners or microfiber mops with special attachments which are specifically designed for such tasks.
These items are ideal tools for helping make sure no dust particles linger during later steps within your overall tile cleaning routine.
Step 04. Mix the Cleaning Solution
An ideal cleaning solution to clean black shower floors and wall tiles is a mixture of white vinegar, baking soda, and mild detergent. White vinegar is an excellent natural cleaner that can help remove dirt and grime with ease.
Baking soda is great for scrubbing away more stubborn stains, while the mild detergent helps to disinfect and further break down soil on the tile surfaces.
How to Mix the Cleaning Solution?
To create a mixture of these three ingredients, first, fill up a bucket or spray bottle with one gallon of hot water. Add two cups of white vinegar, one cup of baking soda, and two teaspoons of mild liquid dishwashing detergent.
Mix it all together until everything has been fully incorporated into the water, creating a powerful cleaning solution capable of tackling even the toughest dirt and grime.
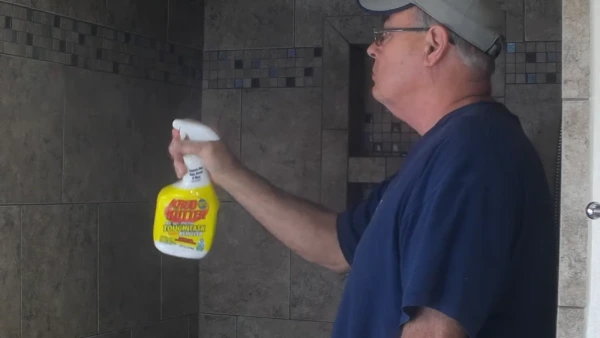
Once mixed, you can use this solution immediately by either directly spraying it onto the affected area or pouring it over a sponge to begin scrubbing away dirt build-up.
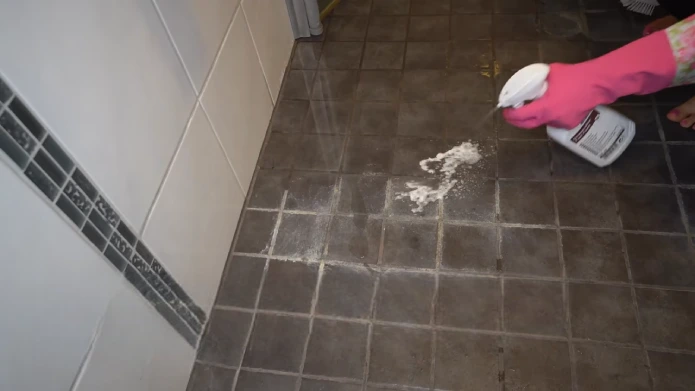
Step 05. Scrub the Black Shower Sidewall and Floor Tiles
Scrubbing the black-colored sidewall tiles of the shower is important to remove dirt, soap scum, and grime that accumulates over time.
Not only this, but it also helps to protect against bacteria from growing on the tile surfaces, which can cause unpleasant odors as well as potential health hazards when left unchecked for too long time.
This will help keep your shower looking clean and fresh for a long time.
Step 06. Rinse the Black Shower Tiles
Why Rinsing the Sidewall and Floor Shower Tiles is important?
Rinsing the black-colored tiles on the sidewalls and the floor of your shower is essential for several reasons. Firstly, rinsing will help to remove any residue or dirt that may be left behind from cleaning products or other debris that can accumulate in tile grout.
This helps to ensure that your tiles are clean and free from dirt and bacteria, which can lead to staining or discoloration over time.
Additionally, rinsing with water will help to reduce the chances of mildew growth in the shower area, as it prevents any leftover soap scum or dirt particles from settling into grout lines and causing discoloration.
Finally, regular rinsing of black shower tiles will help them maintain their glossy sheen over time.
How to Perfectly Rinse the Black Shower Tiles?
Rinsing black shower tiles is not a difficult task. But it should be done regularly for maximum effectiveness.
First, use a soft cloth or mop head and warm water to wipe down all tile surfaces, focusing on areas where dirt may have settled into crevices or grout lines.
When finished wiping down each tile surface using this method, use a damp cloth (that has been wrung out) dipped in warm water to thoroughly rinse off all remaining residue from each tile surface until no soap scum remains.
Then dry all surfaces with a towel after rinsing for best results. Regular weekly rinses are recommended for optimal results when it comes to maintaining the cleanliness of your black shower tiles and keeping them looking like new.
Step 07. Polish Black Shower Floor and Sidewall Tiles
Polishing black shower tiles is an important step in cleaning them and restoring their original shine. Polishing a black tile can help to remove dirt, grime, mildew, and other contaminants that have built up on its surface over time.
It also gives the tiles a smooth finish which will allow them to reflect light better and make them look more attractive. Polishing helps prevent scratches and chips from forming on the tiles, which can cause further damage if left untreated.
- To polish your black shower tiles properly, start by vacuuming up any dirt or debris from their surfaces with a soft brush attachment to avoid scratching them.
- Next, mix warm water with a few drops of liquid dish soap and use a non-abrasive sponge to clean off any remaining debris on the surface of the tiles.
- Once this has been done, use a soft cloth or buffing pad to apply a polishing compound designed for tile surfaces onto each tile individually using circular motions until they are all evenly coated.
- Finally, rinse off any excess product with warm water before allowing it to air dry completely.
Step 08. Rinse the Shower Tiles

Rinsing your black shower tiles after cleaning or polishing them is an essential step to eliminate any leftover residue and ensure they are completely clean.
This will help keep your bathroom looking fresh and maintain its condition over time by preventing build-up from soaps or detergents that may be left behind after washing or polishing them.
How to Rinse the Shower Tiles?
After polishing your black shower tiles, rinse the shower tiles thoroughly before allowing them to dry completely. This will help ensure that all residue from soaps, detergents, or polishes has been removed from their surfaces.
To do this, you should fill up a bucket with lukewarm water before using a clean cloth or soft sponge dipped into it to wipe down each tile one at a time until they are all glossy again. You may need several rinses depending on how heavily soiled they were beforehand.
Once everything has been wiped down, you should mop up any excess moisture with an absorbent towel before leaving it out in an open area, like in front of your bathroom window, for several hours until it has dried out completely.
Are Black Shower Tiles Hard to Keep Clean?
Black shower tiles can be a bit challenging to keep clean, but with the right routine, they can be maintained in a state that looks great. To ensure that black tiles look their best, regularly wipe them down with a cloth dampened with mild soap and warm water solution.
Remember to rinse the tiles thoroughly after cleaning and dry them completely to prevent staining and buildup. For tougher stains, use a non-abrasive cleanser that won’t scratch the tile’s surface.
If you are dealing with hard water stains, a mixture of vinegar and baking soda can help break them down for easy removal.
How Do You Clean Black Matte Shower Tiles?
Cleaning black matte shower tiles are similar to cleaning other types of tile; however, don’t use harsh chemicals or abrasive tools that could damage the matte surface of your tile.
Start by wiping down your shower walls with a gentle cleaner such as dish soap or an all-purpose cleaner and warm water. If there are any tough spots or stains, you can use a non-abrasive scrubbing tool like a soft brush to remove them from the grout lines or other areas where dirt has accumulated.
Once you have scrubbed away all visible dirt and grime, rinse off your tiles completely, so no residue is left behind. Finish up by drying the tile completely with a soft towel or cloth, as this will further reduce potential staining.
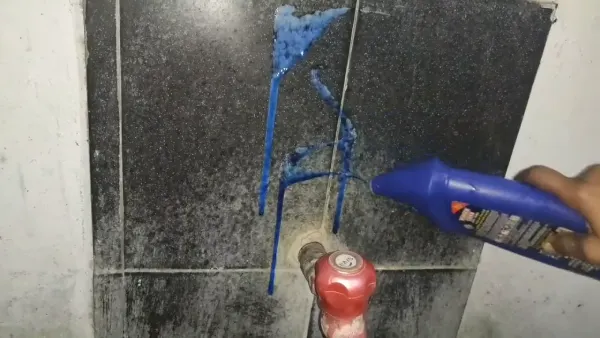
How Do You Get White Marks Off Black Shower Tiles?
You can remove the white marks from black shower tiles using chemical cleaners or physical means such as scraping or scrubbing. White vinegar mixed with baking soda effectively removes calcium deposits or hard water marks on bathroom surfaces such as showers.
Mix 1/2 cup of white vinegar with 1/4 cup of baking soda and apply it directly onto the affected area using a toothbrush or sponge. Let it sit for 10 minutes before rinsing off thoroughly with warm water and then buffing dry with a soft cloth until no more residue remains.
Alternatively, if your white marks are stubborn grease stains, you might need to physically scrape them off using an old toothbrush and some elbow grease.
How Do You Remove Hard Water Stains from Black Shower Tiles?
Hard water stains on black shower tiles can be tricky to remove because they are often caused by minerals that have built up over time and become stuck in the pores of the tile’s surface.
To safely remove these stains without damaging your tile, it is best to mix equal amounts of white vinegar and warm water into a bowl before applying this solution liberally onto the stained area.
Let this sit for 5 minutes before scrubbing with an old toothbrush lightly. If necessary, use some baking soda sprinkled onto an old rag for extra abrasiveness when needed for particularly tough spots.
Once finished, rinse any residual solution before drying thoroughly so no streaks remain behind.
Conclusion
Cleanliness is paramount when it comes to our bathrooms and showers, especially when it comes to black tiling, which often shows dirt more easily than other colors.
By following the simple steps we outlined above, you can keep your black shower tiles looking beautiful without damaging them in the process. Start by gathering all your supplies and preparing the area before moving on to mixing up a special cleaning solution tailored for cleaning black surfaces.
Then you can scrub down the tiles with this solution before rinsing them off and finally polishing them for an extra shine. With these tips in mind, your black shower tiles will remain spotless for a long time.