Last Updated on September 6, 2023
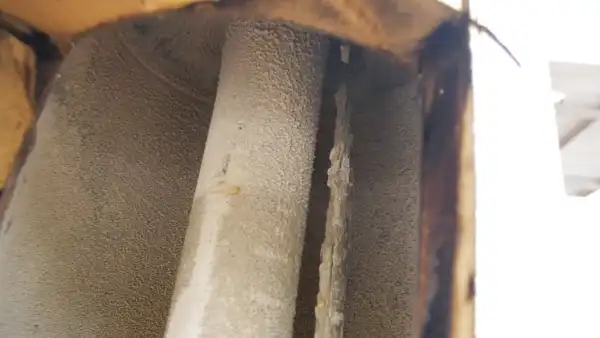
The presence of calcium in water can lead to the formation of stubborn deposits within the heater’s tank. These deposits, known as calcium buildup, can impede heat transfer, increase energy consumption, and even compromise the unit’s functionality.
Now, you might think about how to clean calcium buildup from the water heater and return it to its original performance.
To begin with, drain the water heater by turning off the power and shutting off the cold water supply. Next, remove the calcium deposits by using a descaling solution or vinegar to dissolve them.
Then, flush the tank by attaching a garden hose to the drain valve and opening it to allow any remaining sediment to flow out. Repeat the flushing process until the water runs clear.
This step-by-step guide will discuss simple yet effective ways to clean calcium buildup from your water heater. Also, you will learn how to prevent them from accumulating further.
How Do You Clean Calcium Buildup from a Water Heater?
Before starting any maintenance on your water heater, turn off the power supply and let the water heater cool down. Circuit breakers should be turned off for electric heaters. If you have a gas heater, turn off the gas control valve. Then, follow these step-by-step instructions.
Materials Needed: Wrench, long and narrow brush, garden hose, and Teflon tape.
- Step 01: Draining the water heater
- Step 02: Removing calcium deposits
- Step 03: Flushing the tank
- Step 04: Repeat the flushing process
- Step 05: Completing the process
Step 01: Draining the Water Heater
Start by closing the shutoff valve on the cold water pipe supplying your heater. It will prevent any more water from entering the tank during the cleaning process.
Next, attach a water line to the drainage valve at the base of the heater’s tank. Be sure to direct the rest of the hose to a safe drainage point, such as a floor drain or a bucket.
Once securely attached to the hose, open both drain valves and the temperature and pressure relief (TPR) valve. By doing this, you release any suction and enable water to flow freely out of the tank. You must let all the water in the tank drain completely, which may take some time.
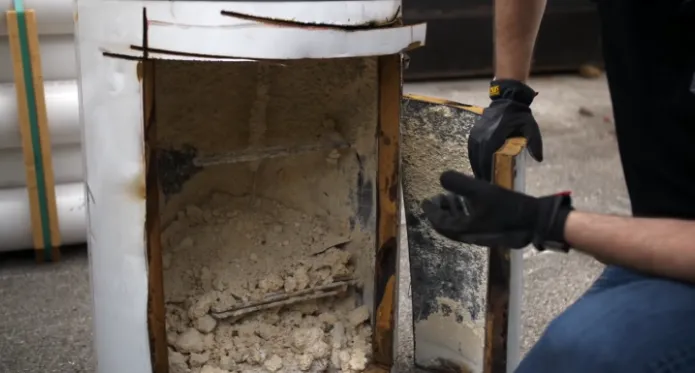
Step 02: Removing Calcium Deposits
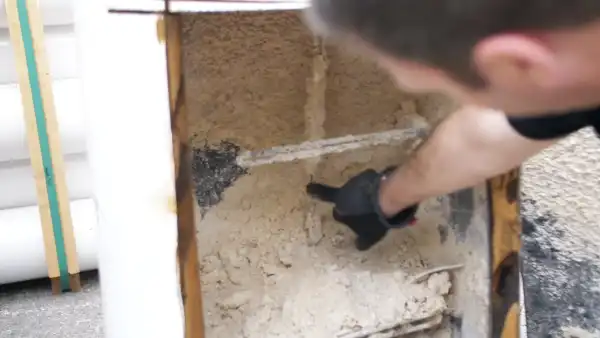
After draining all the water from your tank, use a long, narrow brush to scrub the inside surfaces and remove calcium deposits.
Start at the bottom of the tank and work your way up, making sure to reach all areas. Use firm but gentle strokes to loosen and dislodge any stubborn deposits. Pay special attention to corners and crevices where buildup tends to accumulate.
Step 03: Flushing the Tank
Open up the cold water shutoff valve you closed earlier and let the water flow through the tank to flush out any remaining deposits. As you open the valve, allow the water to flow freely for about 15 to 20 seconds. This will help dislodge and remove any loosened calcium deposits that may still be present inside the tank.
While the water flows, keep an eye on it to see if any sediment or residue comes out. This will indicate that the flushing process is effectively removing the buildup.
Step 04: Repeat the Flushing Process
To ensure thorough cleaning, you should repeat the process of flushing the tank until the water runs clear. By repeating the flushing process, you will continue to flush out any remaining calcium deposits that may still be lingering in the tank.
Repeat the process of opening the cold water shutoff valve and flushing the tank several times until the water runs clear. This might take a few rounds of flushing.
Each time you do this, observe if there are any traces of calcium or sediment in the draining water. Continue repeating this until you see no more signs of debris and clear water runs through. Once you are satisfied with the flushing, close the drain valve to stop the water flow.
Step 05: Completing the Process
Once you have finished flushing the tank and ensuring no more debris or sediment is present, it’s time to complete the process. Next, open a few hot water taps in your house to allow air to escape from the system.
Now, turn on the cold water supply to the water heater. Make sure that it is fully open and functioning correctly. Then, turn on the power supply to the water heater according to the manufacturer’s instructions, whether electricity or gas-powered.
How do you prevent calcium buildup inside your water heater?
Set the water heater temperature between 120 and 140 degrees Fahrenheit. This temperature range is ideal for preventing the acceleration of calcium buildup and prolonging the lifespan of your water heater.
Aside from that, if you live in an area with hard water, consider using a water softener to combat severe calcium buildup. Hard water is notorious for causing limescale buildup, harming your water heater’s performance and longevity.
Also, take the time to flush your water heater regularly, ideally annually, to prevent the accumulation of calcium deposits. Flushing your water heater will help remove any built-up sediment, including calcium deposits, that could harm your water heater system.
Is it risky to clean calcium buildup from a water heater?
Cleaning calcium buildup from a water heater can be risky if not approached carefully. Such as using a power washer or other abrasive cleaning agent, as this could cause damage to the tank and surrounding components.
If you’re experiencing calcium buildup in your water heater, consider enlisting the help of a professional for proper maintenance.
Get Rid of Calcium Buildup & Boost Your Water Heater’s Efficiency
Cleaning calcium buildup from your water heater is crucial for maintaining efficiency and prolonging lifespan. Simply follow these steps to ensure your water heater remains free from mineral deposits that hinder its performance.
Just disconnect the water heater’s power supply. Next, flush out the tank to remove any loose debris and sediment. After flushing, use a brush or sponge to scrub the interior of the tank gently.
Once you’ve thoroughly cleaned the tank, reconnect the power supply and allow the water heater to refill. Check for any leaks or unusual noises, which could indicate a problem that needs further attention.
Implement regular maintenance routines to prevent future calcium buildup. This can include using a water softener or scheduling professional cleaning and maintenance.