Last Updated on November 14, 2023
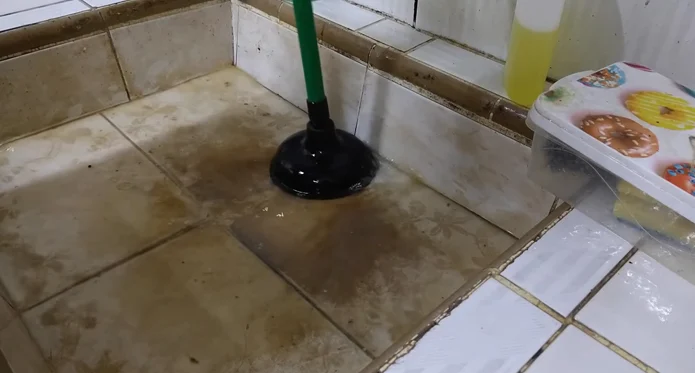
It’s not fun to deal with a clogged drain after painting. It’s not just a slow drain that can be annoying, a blockage can get bad quickly.
As per chemical composition, Paint is thick and sticky, and it can quickly build up in the pipes, causing a clog. Over time, paint can accumulate in your drains and form clogs that are difficult to remove. If you’re dealing with a clogged drain, there are a few easy steps you can follow to get your drain flowing freely again.
In this blog post, we’ll walk you through how to clean a drain clogged with paint so that you can get back to your painting project as quickly as possible. You will also learn what we know and what you need to know so that you can avoid the problem in the first place.
Required Tools and Consumables:
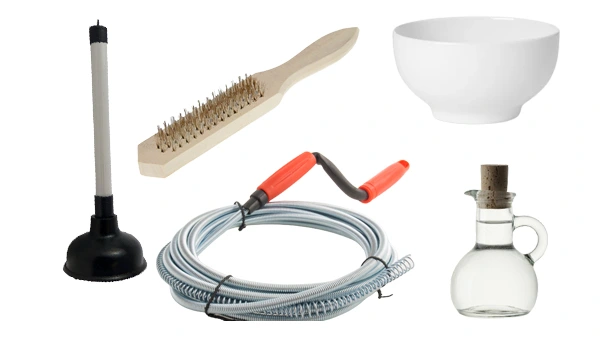
- A plunger
- A plumbers’ snake
- A wire brush
- A cup or bowl
- Vinegar
- Baking soda
- Hot water
How to Clean a Drain Clogged With Paint: Detailed Instructions
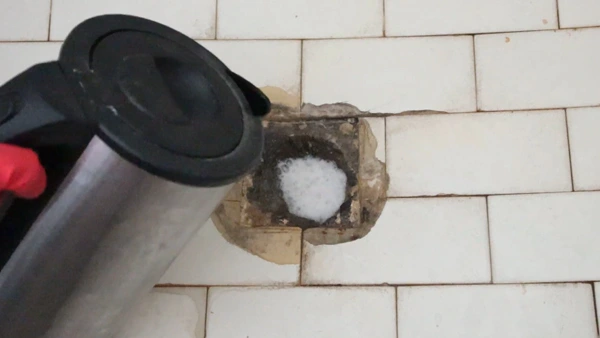
A clogged drain is a hassle at best and a disaster at worst. Detailed instructions on cleaning a clogged drain with paint are provided below.
Step 1: Remove the Paint
Before you do anything else, it’s important to remove as much of the paint from the drain as possible. This will help prevent any further flooding and make it easier to work on the clog. Once the water is removed, you can begin working on the clog itself.
You can do this by using a plunger or a plumber’s snake. Alternatively, you can accomplish this by using a putty knife or another sharp implement to scrape the paint away from the sides of the drain. Avoid scratching the surfaces too much. You want to remove the paint, not damage it.
You can also use a wire hanger to reach the clog and pull it out. If you’re using a plunger, make sure that it has a good seal on the drain before you start pumping.
If you’re using a plumbers’ snake, insert it and rotate it clockwise until you feel resistance. If there’s any paint left, flush the drain with hot water to get rid of any leftover paint.
Step 2: Soak Up Remaining Paint
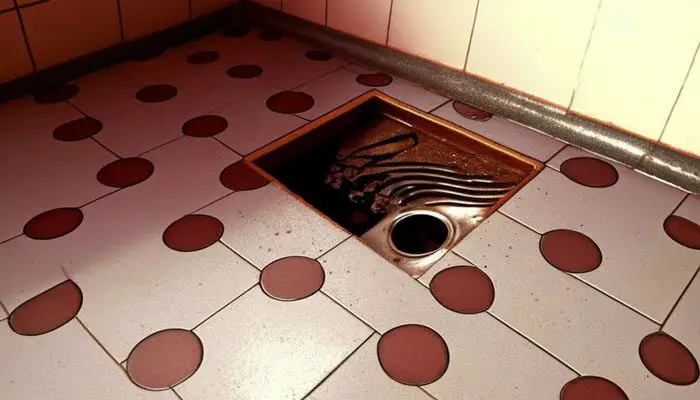
Once you’ve removed as much paint as possible by hand, it’s time to soak up the remaining paint with rags or paper towels. Soak up as much of the liquid paint as possible so that it’s no longer sitting in the drain. This will make the next step much easier.
Step 3: Pour Chemical Mix
Pour ¼ cup of baking soda down the drain. This will help to break up the paint and loosen the clog. Follow this by pouring ½ cup of vinegar down the drain and plugging the drain with a rag or a stopper.
Step 4: Let it Sit
Allow the baking soda and vinegar to sit for 30 minutes to break down the paint clog. Vinegar is a natural solvent, which means it will help break down the painted surface so that it can be flushed away.
It will react with the baking soda, creating a foaming action that will help to dislodge the clog. Also, use a rag or sink stopper to prevent the paint from flowing back into the sink.
Step 5: Remove Stopper and Flush
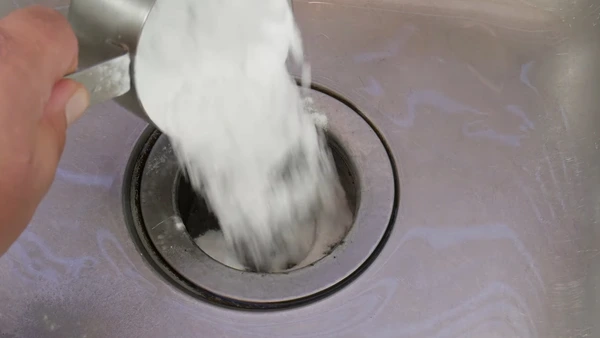
After 30 minutes have passed, remove the stopper from the drain and pour hot water down the drain again. This will help to dislodge any paint that may still be clinging to the drain walls. Be sure to use hot water, as this will help to melt any stubborn paint clogs.
Step 6: Repeat
If the paint clog is still present, repeat steps 2-3 until the clog is gone. You may need to repeat this process a few times before the clog is completely cleared. Be patient and persistent, and eventually, the clog will be gone.
Step 7: Future Prevention
Once the clog is gone, be sure to run hot water down the drain on a regular basis to help prevent paint clogs from forming in the future. You should also use a chemical drain cleaner according to the instructions on the product bottle.
Additional Tips and Advice:
- First, try using a plunger to see if you can dislodge the clog. If that doesn’t work, you’ll need to grab a plumbing snake or an auger.
- Insert the snake into the drain and turn it clockwise to break up the clog. Slowly pull the snake out as you continue to turn it.
- If all else fails, you may need to call in a professional to help clear your drain.
- Pour any leftover paint into a container and seal it tightly before disposing it in the trash.
Can Latex Paint Go Down the Drain Without Clogging?
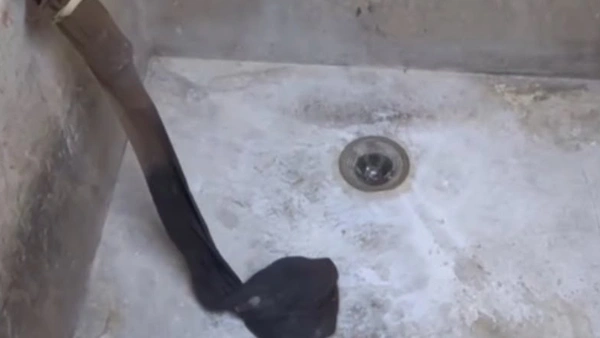
The answer is no. Latex paint is made with pigments and binders that can clog your drains and cause plumbing problems. Water-based or latex paints should be discarded in a trash can, not poured down the drain.
Oil-based paints should also be disposed of in a trash container. If you must dispose of oil-based paint in the sink, flush with large amounts of water for several minutes to dilute the paint. Never pour any type of paint down a storm sewer or into a body of water.
Does Acrylic Paint Clog Drain Pipes?
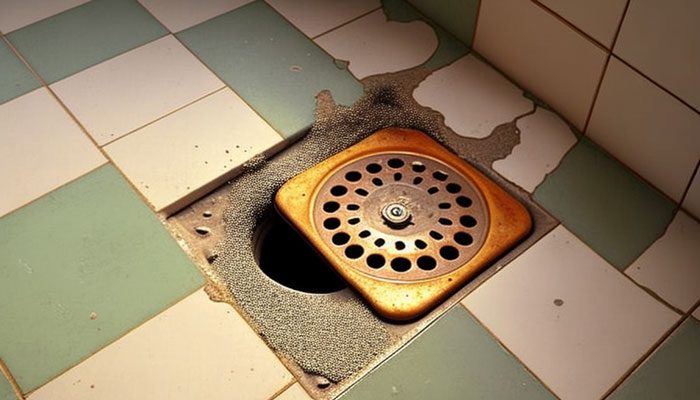
The answer to this question is somewhat complicated, as it depends on the type of acrylic paint you are using and how you are using it. Generally speaking, acrylic paint is not likely to clog drain pipes as long as it is used in small amounts and allowed to dry completely before being flushed down the drain.
Acrylic paint is water-based, so it will eventually dissolve in water. In any case, if you are using a large amount of acrylic paint or if you do not allow it to dry completely before flushing it down the drain, there is a chance that it could clog your pipes.
If you are concerned about clogging your pipes with acrylic paint, you can always consult the manufacturer’s instructions or contact a professional plumber for advice.
Can I Rinse Paint Brushes in the Sink Without Clogging Up the Drain?
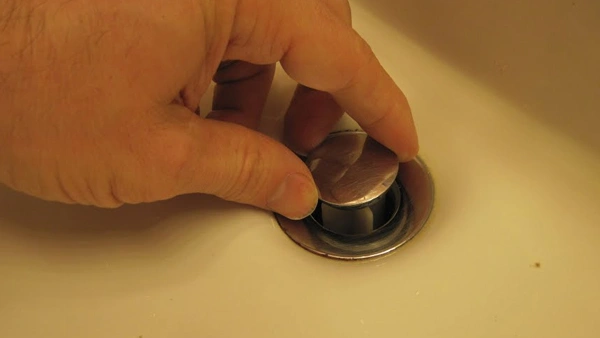
It is not advisable to use the sink to rinse paint brushes. Paint brushes are usually made with natural bristles which can swell and soften when wet. When the bristles swell, they release particles of paint into the water, which can then adhere to the pipes and clog the drain.
Also, Paint brushing can introduce foreign materials such as hair, paint, and other deposits that can build up over time and eventually cause a clog.
If you must rinse your paintbrush in the sink, be sure to thoroughly clean the sink afterward to remove any residual paint or deposits. Another option is to wash paint brushes in a bucket of soapy water and then dispose of the water properly. This will minimize the risk of clogging and make clean-up easier.
Is Paint Thinner Safe to Wash Down into Drains?
Most paint thinners are petroleum-based solvents. They’re useful for cleaning upholstery, paintbrushes, and other tools and for removing paint from surfaces. But because they contain harmful chemicals, you should never wash paint thinners down the drain.
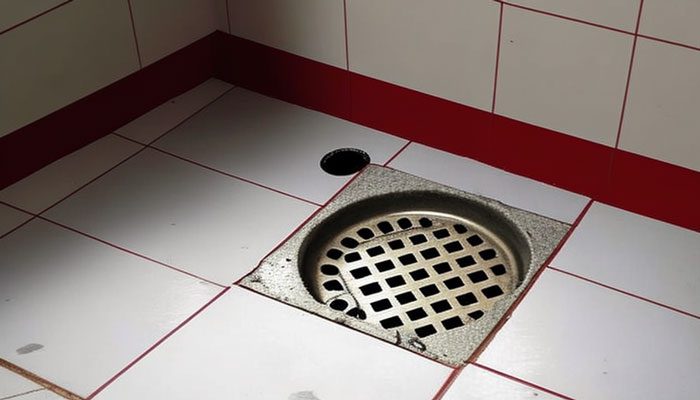
Doing so can contaminate the water supply and harm aquatic life. Also, the fumes from paint thinners can be harmful to your health if inhaled. If you must use paint thinner, always follow the manufacturer’s instructions carefully and dispose of it properly when you’re finished. Never pour it down the drain.
Can you Pour Peroxide Down the Drain?
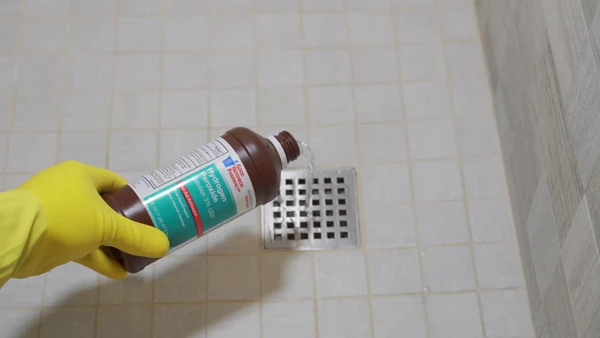
The simple answer is yes. You can flush peroxide down the plumbing. But, there are a few things to keep in mind if you choose to do so. First of all, peroxide is an oxidizer, which means that it can react with other chemicals. Therefore, it’s important to make sure that there aren’t any other cleaners or chemicals already in the drain before pouring peroxide down it.
Also, peroxide can foam when it comes into contact with organic matter. This means that if there is a lot of build-up in your drain, the peroxide could cause the build-up to come loose and potentially clog your drain.
Also, while peroxide is a powerful cleaner, it isn’t effective at removing grease. So, if your clog is caused by grease build-up, you’ll need to use a different cleaner. All things considered, pouring peroxide down the drain is generally safe as long as you take a few precautions.
So, Let’s Clean up a Drain Clogged With Paint
Cleaning a drain clogged with paint is unpleasant, but it’s a task that all homeowners will inevitably have to face at some point or another. Following the steps outlined in this blog post, you’ll be able to restore drainage fairly quickly.
And by taking some preventative measures, you can help ensure that clogs don’t happen again in the future. So, next time you’re experiencing a clogged drain due to paint, remember these simple steps and save yourself some time and frustration.
Recommended Article To Read:

