Last Updated on October 18, 2023
In every household, a toilet plunger is essential, helping to clear clogged toilets. But after its use, cleaning your plunger well is essential to prevent lingering germs. Properly cleaning your toilet plunger ensures its longevity and helps maintain a hygienic environment.
To maintain the cleanliness of your toilet plunger, start by creating a cleaning mixture using warm water and bleach. If possible, detach the plunger’s handle. Subsequently, immerse the plunger in the cleaning solution, diligently scrub and sanitize it with a brush or sponge, and conclude by thoroughly rinsing it.
With this step-by-step guide, we’ll discuss the best way to ensure your plunger stays germ-free. So continue reading to keep your toilet plunger squeaky clean.
How to Clean Toilet Plunger After Use to Maintaining Hygiene: A Step-by-Step Guide
When maintaining hygiene and cleanliness in your toilet area, you must clean your plunger after each use. To ensure a thorough cleaning process, follow these six steps:
- Step 1: Gather your supplies
- Step 2: Prepare a cleaning solution
- Step 3: Disassemble the plunger
- Step 4: Soak the plunger in the solution
- Step 5: Scrub and disinfect the plunger
- Step 6: Sun-drying the parts and reassembly
Let’s discuss these steps in detail:
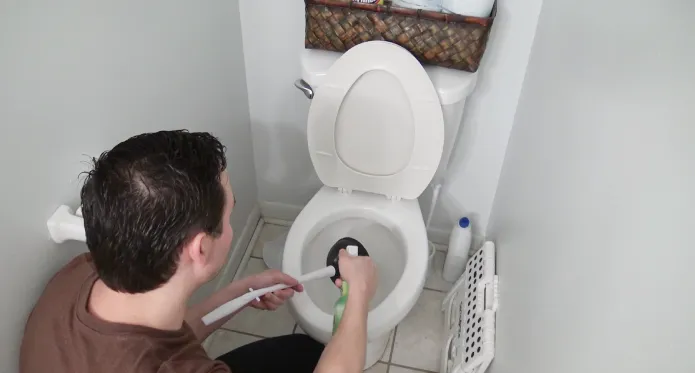
Step 1: Gather Your Supplies
Before starting the cleaning process, ensure you have all the necessary supplies for cleaning your toilet plunger. You will need:
- Rubber gloves
- Scrub brush or old toothbrush
- Hot water
- Small bucket
- Disinfectant or bleach
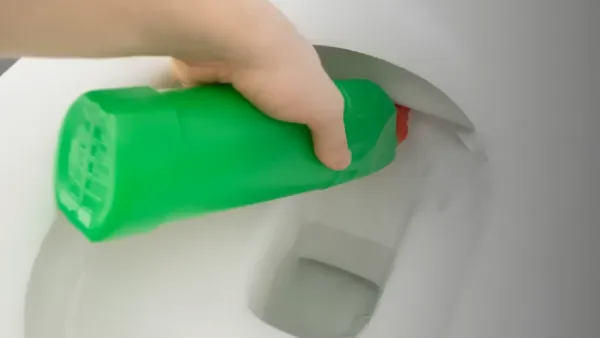
Step 2: Prepare a Cleaning Solution
To prepare a cleaning solution, you must combine equal parts of hot water and a disinfectant or bleach in a bucket. This simple mixture effectively kills germs and bacteria that may be present on your toilet plunger after use.
Start by filling the bucket with hot water, ensuring it’s not too hot to handle safely. Then, add an equal amount of disinfectant or bleach to the water. The hot water helps break down any residue on the plunger, while the disinfectant or bleach kills any lingering germs or bacteria.
Stir the solution well until it is fully mixed together. Now, your cleaning solution is ready to effectively sanitize your toilet plunger.
Step 3: Disassemble the Plunger
Carefully take apart your plunger, following any specific instructions provided by the manufacturer. Disassembling your plunger will help you clean it thoroughly.
Start by twisting or unscrewing detachable parts such as the handle or cup. Pay attention to locking mechanisms and be gentle to avoid damaging the plunger.
Once you have disassembled all the parts, inspect them for any loose dirt or debris that may be stuck. You can use a soft brush or toothbrush to scrub away these residues.
Step 4: Soak the Plunger in the Solution
When disassembling the plunger, place all the parts into the cleaning solution and let them soak for 15 to 20 minutes. The cleaning solution helps break down any dried-on waste that may be stuck on the rubber cup or other detachable parts.
While the plunger is soaking, give it an occasional gentle swish around in the solution to ensure even distribution of the cleaning agent. This will help maximize its effectiveness.
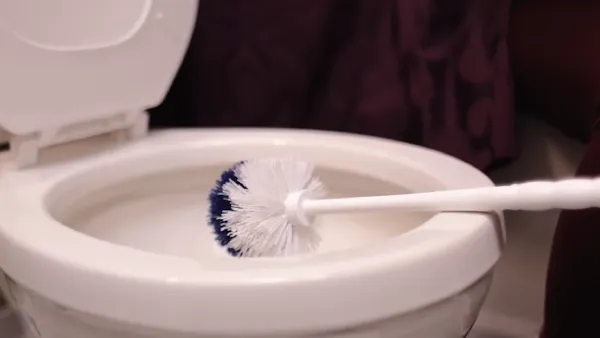
Step 5: Scrub and Disinfect the Plunger
As soon as the plunger has been soaked in the cleaning solution, it’s time to scrub and disinfect it. Start by gently scrubbing the rubber cup of the plunger, making sure to pay close attention to any crevices or folds where dirt might be hiding.
Don’t forget to scrub the handle and any other parts of the plunger that may have come into contact with germs. Be thorough in scrubbing, removing any remaining debris or residue from the plunger.
After scrubbing, the plunger should be thoroughly rinsed under running water to eliminate any residue and debris.
Step 6: Sun-Drying the Parts and Reassembly
Allow the cleaned parts to air dry in a sunny spot. Sunlight’s natural disinfectant properties can help eliminate remaining bacteria.
After the plunger parts have air-dried in the sunlight, you can reassemble them. Start by picking up the handle and aligning it with the socket on the rubber cup. Make sure they fit together securely.
Why should I clean my toilet plunger After Use?
When you use a toilet plunger, you should always keep it clean because:
Hygiene and Sanitation
The most obvious reason to clean your toilet plunger is to maintain a high level of hygiene and sanitation. After all, a plunger is used to unclog toilets, which can be quite unsanitary. Cleaning it ensures you’re not spreading bacteria, germs, or other contaminants around your bathroom.
Preventing Odors
Over time, the residue left on a plunger can emit foul smells that can linger in your bathroom. Regularly clean your plunger residue after each use to prevent these unpleasant odors.
Avoiding Cross-Contamination
Ensure you’re mindful of cross-contamination when handling the plunger. It is possible that bacteria and germs from your plunger can transfer to other surfaces in your bathroom, increasing the risk of illness. To avoid this, clean your toilet plunger after each use.
Preventing Stains
If a plunger isn’t cleaned after use, the residue it leaves behind can stain the toilet area where you store it. This can lead to additional cleaning and scrubbing to remove those stains. Clean your plunger thoroughly after each use to prevent staining in the area where you store it.
Can I disinfect the plunger using alcohol wipes?
Using alcohol wipes may not fully disinfect the plunger, as they might be less effective than proper disinfectants or bleach solutions. While alcohol wipes can help remove some surface germs, they may not thoroughly sanitize the plunger.
To disinfect your plunger after use effectively, consider using a bleach solution or a commercial disinfectant specifically designed for sanitizing surfaces.
Are there any natural ways to clean my plunger?
You can mix lemon juice and baking soda to freshen your plunger. Lemon juice is known for its natural cleaning properties, while baking soda helps eliminate odors.
To clean your plunger, sprinkle baking soda on the rubber cup. Then, spray some freshly squeezed lemon juice over it. Combining these ingredients will create a foaming action that helps lift dirt and grime from the surface of the plunger.
You can also use a scrub brush or sponge to gently scrub the rubber cup, making sure to reach all areas. Then rinse thoroughly with clean water afterward to remove the residue.
Maintain Sanitation and Prevent Odors by Cleaning Your Toilet Plunger
A clean toilet plunger is a small but significant aspect of maintaining a sanitary bathroom environment. Regularly cleaning your plunger after each use not only prevents the spread of germs and ensures that the tool remains effective.
The benefits of a clean toilet plunger are far-reaching. From maintaining proper sanitation and preventing odors to avoiding cross-contamination and prolonging the plunger’s lifespan, cleaning this simple tool pays off significantly.
While alcohol wipes can be effective for disinfection, there are also natural ways to clean your plunger, such as vinegar or bleach solutions. Remember to follow the steps provided earlier for thoroughly cleaning and maintaining your toilet plunger.