Last Updated on September 6, 2023
Keep those shower strip seals squeaky clean. Not only does it spruce up your bathroom aesthetic, but more importantly, regular maintenance prevents mold and mildew from taking over. Plus, if not properly maintained, these strips can even cause damage to the door itself. So make it a priority to keep up with regular maintenance.
Don’t worry about scrubbing the seal strip on your shower door anymore. There are super simple and totally doable ways you can get it sparkling clean without too much effort. Using a few simple household items, like borax, baking soda & vinegar, you can blast that buildup away in no time.
We’ve got the perfect approach to quickly and effectively cleaning your seal without all the elbow grease. Read on to find out more about this amazing cleaning technique.
How to Clean Shower Door Seal Strip: 3 Easy Methods
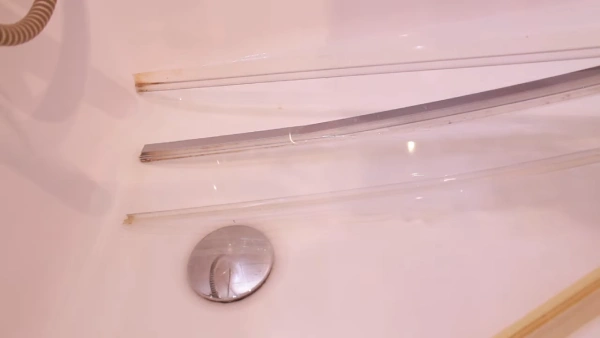
If your shower door seal strip is looking dull and dirty, don’t despair. Here we’ll explore three easy methods to help get it sparkling clean in no time.
Materials needed for both methods:
- Protective gloves
- Goggles
- A toothbrush
- Clean, dry cloth or sponge
- A spray bottle
- Spoon
- Mixing bowl
Method 1: Using Borax or Baking Soda
Step 1: Set up the Work Area
Before starting to clean the shower door seal strip, it is important to properly prepare the work area. This includes removing any excess grime and soap scum, as well as hard water deposits from the entire surface of the door seal.
Using a non-abrasive cloth or sponge is best when wiping away these deposits. Also, this will help keep any dust particles away from the cleaning process and ensure that all dirt and debris are removed before beginning.
Step 2: Prepare a Mixture
Using either Borax powder or baking soda, combine 2 tablespoons of mild liquid soap with 1 cup of the dry mixture in a bowl or container of some sort. Then add 1/2 cup of hot water and stir the mixture until it has fully dissolved into a thick paste-like consistency.
This mixture should be enough to cover an entire seal strip at once, so make sure you have enough on hand for larger projects.
Step 3: Seal Strip with Mixture
Once your mixture is ready, dip a soft toothbrush into it and scrub it on the rubber seal strip. Be sure to apply enough pressure while scrubbing so that all areas are adequately cleaned but not too much to not damage the seal strip itself.
After everything has been covered evenly with the mixture, let it sit for 15-20 minutes before moving on to the next step.
Step 4: Rinse off the Rest
After allowing sufficient time for the mixture to settle into all of its crevices, fill a large cup with warm water and gently pour it over the rubber seal strip on your door. It’ll help dislodge any particles left behind by your cleaning process and wash away any excess solution left after scrubbing.
Method 2: Using a Vinegar Solution
Step 1: Assemble the Mixture
When it comes to cleaning a glass shower door seal strip, one of the best solutions is to mix white vinegar and water in equal parts. This mixture can be created by using 1 cup of each liquid at a time.
For those looking for an extra boost of cleaning power, a teaspoon of castile soap or dish detergent can also be added to the solution. It is important to mix all of these liquids together before applying them to the seal.
Step 2: Apply the Mixture
Once the vinegar and water mixture has been thoroughly mixed together, it should then be sprayed onto the shower glass door seal. When applying this solution, it is important to ensure that all surfaces of the seal have been covered with an even layer of the mixture.
The solution should then be left on for 15-20 minutes so that it has time to work its magic and break down any dirt or grime.
Step 3: Scrub Away Stains
Even after allowing the vinegar and water solution to settle, some stubborn stains may still remain on the seal strip that needs to be manually removed. To do this, a soft toothbrush should be used. Scrubbing each section again just before scrubbing to ensure it is properly wet and to increase effectiveness.
The seal strip cleaning process needs to run slowly and methodically to give equal attention to all parts.
Step 4: Rinse off the Remaining Residue
After removing all of the stains from the seal strip, it is essential to rinse off any remaining residue. This means that you should rinse the shower door from both sides and the inside and outside edges of both seals.
To do this, you can slowly pour warm water over both sides of the seals until all remaining residue has been washed away thoroughly. Not only will this ensure that your shower remains clean and free from any potential bacteria build-up.
Method 3: Using Chlorine Bleach
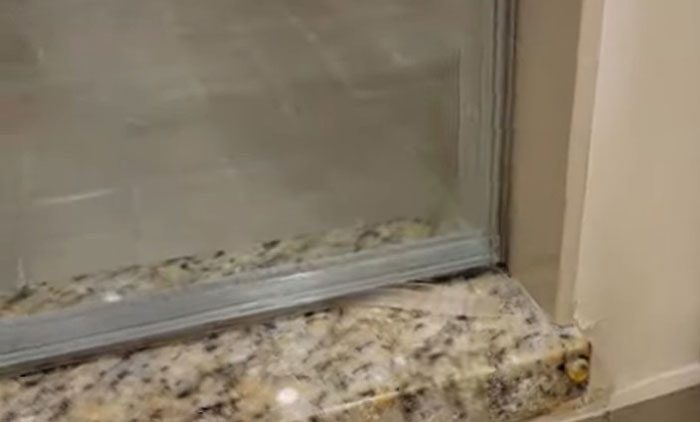
Step 1: Make the Cleaning Solution
To make the solution, mix together 1/4 cup of liquid chlorine bleach with 3/4 cup of water in a spray bottle. Shake the bottle to ensure that the ingredients are well combined. Be sure to use gloves and eye protection when working with chlorine bleach, as it can cause skin and eye irritation.
Step 2: Apply the Solution
Once your cleaning solution is ready, you can begin cleaning your seal strip. Spray the seal liberally with your mixture and let it sit for 10-15 minutes to allow for maximum effect. This gives the chlorine bleach time to work its way into any dirt and grime on the seal strip so that it can be easily removed.
Step 3: Give It a Gentle Scrub
After 10-15 minutes have passed, it is time to scrub away any remaining residue. Use a soft brush and gently scrub away all the dirt and grime built up over time on your seal strip until it appears clean again.
Step 4: Rinse Everything Off
When you are finished scrubbing away all of the grime off your shower door seal strip, you need to rinse off all leftover residues. Fill up a large cup or bucket with fresh water and pour it over your seal strip several times until all traces of bleach are gone from its surface.
Why Do Shower Door Seals Get Dirty?
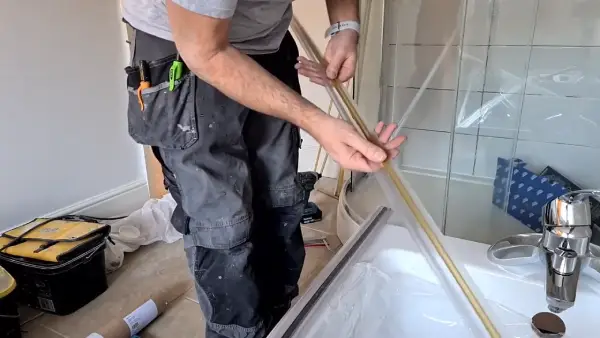
Shower door seals are essential components of keeping water in your shower where it belongs. The problem is these seals can easily become dirty, grimy, and full of bacteria over time.
The following are some of the most common reasons:
Soap Scum Build-up: One of the primary reasons shower door seals get dirty is due to the buildup of soap scum. This occurs when soap, shampoo, body wash, and other products come into contact with the seal and create a film that can be difficult to remove over time.
Hard Water Staining: Another reason shower door seals become dirty is hard water stains. Hard water contains minerals such as calcium carbonate that can leave a white residue on the surface of your shower doors after they have dried off from use.
Mold & Mildew Growth: If not properly sealed or dried off after each use, mold and mildew can grow quickly on shower door seals. Leading them to look unsightly and feel slimy or gritty when touched.
Wear & Tear: Due to constant contact with water or steam and regular exposure to hot air from showers and baths, rubber or vinyl shower door seals will naturally wear down over time. If you start noticing that your current seal looks wrinkled or worn out, it’s probably time for a replacement.
Abrasive Cleaners: Using abrasive cleaners such as steel wool pads or scouring pads may cause damage to the surface of your seal. While also introducing more dirt onto it due to small particles getting caught in between its crevices, making it dirty again quicker than usual.
How Often Should Shower Seals Be Cleaned?
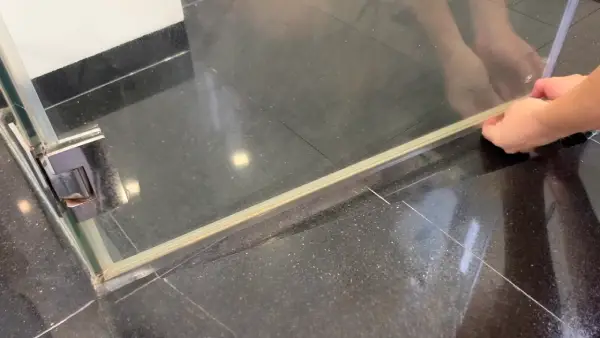
Shower seals should be cleaned at least once or two every month. Regular cleaning can help to keep the sealant from developing a thick layer of soap scum, dirt, and mold, which can cause it to deteriorate over time.
It is crucial to note that if you use harsh chemicals or abrasive scrubbers when cleaning. This could cause damage to your shower seal and make it more prone to cracking or breaking.
If you want to avoid any damage to your shower door seal, follow the above cleaning instructions and use mild soaps or detergents. Dry off the seal after every use to prevent moisture from building up and causing mold or mildew.
If the Strip Cannot Be Cleaned, What Should You Do?
When all your efforts to scrub away grime on the seal strip just aren’t enough, it’s time for a fresh start. Replace that old sealant with a new one. Making sure that the size and type of the product are both appropriate. This is essential to restoring functionality and charm to your shower door.

It’s always recommended to use a high-quality strip that is designed for long-term use and water resistance. For example, frameless shower door bottom seal, shower door bottom seal strip, and shower door seal for all door thicknesses are some good choices to consider.
Can You Clean the Strip Without Removing It?
Sometimes, it may be possible to clean the plastic sealant without removing it from your shower door. Although, this isn’t always effective, as it can be difficult to reach all areas of the sealant with traditional cleaning methods.
Aside from that, depending on how long it has been since you last cleaned it, you may still not be able to remove all traces of dirt or residue even if you do manage to clean it without removing it first. To maximize hygiene and durability, removing the plastic strip before cleaning it is generally recommended.
Stay Spotless: Don’t Forget the Shower Door Seal Strip
Now you know how important it is to keep your bathroom clean, but do you realize the importance of regularly cleaning your shower door seal strip? Those grungy strips not only make for some smelly showers, but if left neglected, it can cause big issues like water damage and mold growth.
So here’s a friendly reminder, don’t forget to give that pesky device its regular scrub.
To avoid these problems, you should clean the strip at least once a month using the above-mentioned effective method. It is recommended that you replace your seal strip every so often to ensure that it remains in good condition for a long time to come.

