Last Updated on March 4, 2023
With a Moen shower head, you can count on luxurious showers to start your day. But just like anything else in the home, it needs some TLC if it’s going to remain at peak performance. And luckily, getting that meticulous gleam back is simpler than you think.
A few easy steps and an extra bit of elbow grease will help get those holes unclogged and clear mineral deposits for ideal water flow. All you need to give your Moen shower head a fresh, deep clean is a mix of white vinegar and water.
This combination will get the job done without damaging the finish, making it an effective yet inexpensive solution for all cleaning needs. Just follow the simple steps outlined below, and you can enjoy years of uninterrupted, refreshing showers.
How to Clean A Moen Shower Head Easily?
Maintaining a sparkling clean Moen shower head doesn’t have to be complicated. Below are the steps for easily cleaning a Moen shower head.
Gather the Necessary Materials:
- White vinegar
- Soft cloth or sponge
- Bucket for soaking the shower head
- Rubber gloves
- Old Toothbrush
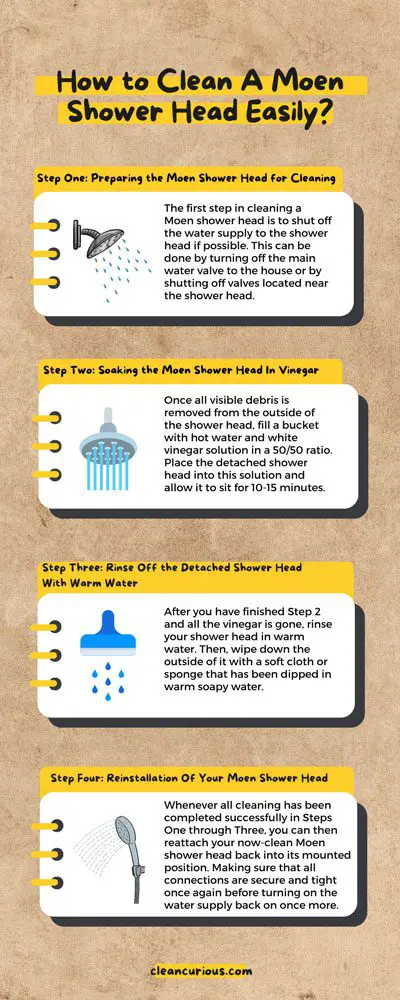
Step One: Preparing the Moen Shower Head for Cleaning
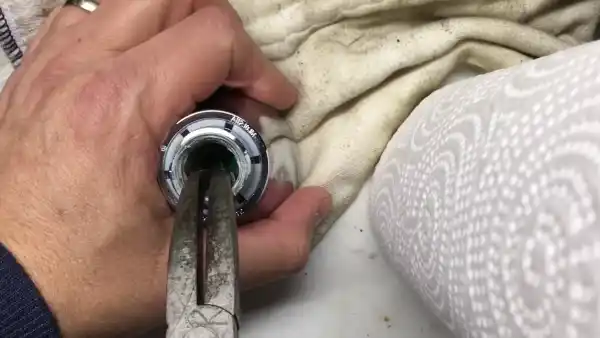
The first step in cleaning a Moen shower head is to shut off the water supply to the shower head if possible. This can be done by turning off the main water valve to the house or by shutting off valves located near the shower head.
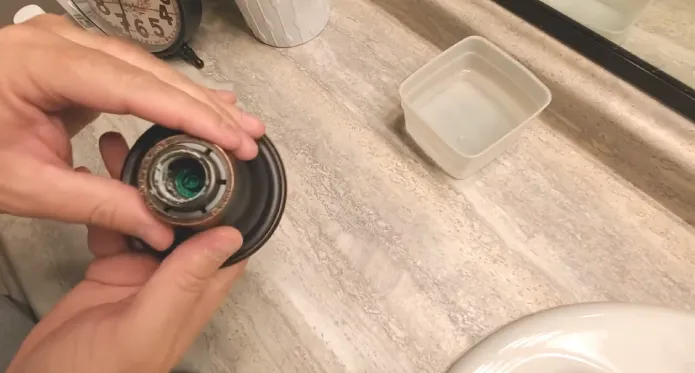
Having done so, gently remove the showerhead from its mounted position. Carefully inspect it for any visible residue and debris on its outer surface, and use an old toothbrush to scrub it away.
Step Two: Soaking the Moen Shower Head In Vinegar
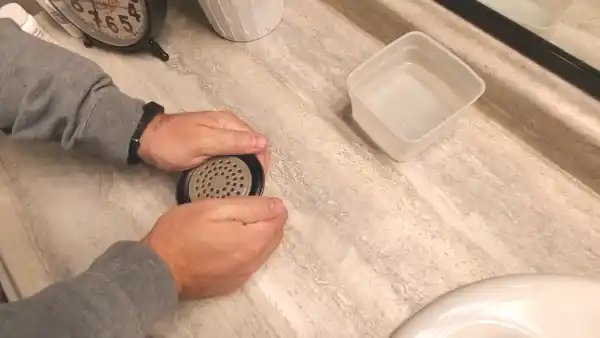
Once all visible debris is removed from the outside of the shower head, fill a bucket with hot water and white vinegar solution in a 50/50 ratio. Place the detached shower head into this solution and allow it to sit for 10-15 minutes.
After that time has passed, use a toothbrush or sponge to scrub away any residue inside of nozzles if present. If there are no accessible nozzles, then skip this step, as they are not necessary for cleaning.

Step Three: Rinse Off the Detached Shower Head With Warm Water
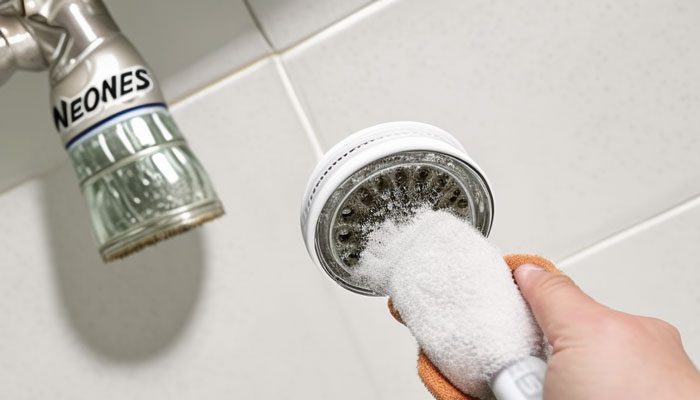
After you have finished Step 2 and all the vinegar is gone, rinse your shower head in warm water. Then, wipe down the outside of it with a soft cloth or sponge that has been dipped in warm soapy water.
This should help remove any remaining residue or debris collected on its exterior parts during Steps One and Two of the cleaning process. Once all the particles have been removed from the outside, turn your attention to the inside of the nozzles. Check inside each nozzle again for any blockages that weren’t present.
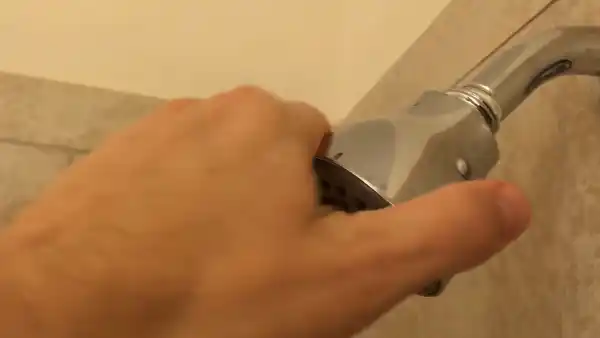
Step Four: Reinstallation Of Your Moen Shower Head
Whenever all cleaning has been completed successfully in Steps One through Three, you can then reattach your now-clean Moen shower head back into its mounted position. Making sure that all connections are secure and tight once again before turning on the water supply back on once more.
To test that everything is working as expected after reconnection is complete, run through several cycles of varying flow rates. While also adjusting them with a flow restrictor if necessary. Ensuring that every nozzle is spraying correctly along the way.
What Happens If You Don’t Clean a Moen Shower Head?
A gentle burst of warm and cool water is exactly what you need to revitalize your skin. That’s why Moen has developed shower heads meant for max refreshment. Even so, if not kept properly clean and serviced, even the most luxurious fixtures can become unreliable.
Here are the consequences of not cleaning Moen shower heads:
1. Build-Up of Mineral Deposits
The most common problem with failing on Moen shower heads is the accumulation of mineral deposits on the inside. Over time, hard water minerals such as calcium and magnesium will build up on the interior walls of the fixture, causing the spray nozzle to become clogged.
2. Reduced Water Pressure
If the mineral buildup is allowed to reach critical levels, it can effectively impede water flow. Resulting in reduced water pressure when turning on the faucet or showerhead. You may also notice a strange sulfuric odor that comes from these deposits reacting with bacteria present in tap water.
3. Leaks
Leaving your Moen shower head uncleaned can lead to leaks around its base or at its connection points due to corrosion or loose fittings caused by mineral buildup. This can be particularly troublesome for fixtures that are using multiple outlets, such as a rain shower or handheld shower.
4. Poor Water Quality
The water on unwashed fixtures could contain anything from fungi to mold to bacteria that can be harmful when ingested or inhaled through steam or hot water vapor. These organisms can cause a host of respiratory illnesses and other health problems.
5. Shortened Lifespan
Also, failure to clean your Moen handheld showerhead can lead to an overall reduction in its lifespan due to all the different problems mentioned above. Which gradually take their toll over time if left unaddressed. This means more frequent replacements will be required to keep things running smoothly.
Can You Take a Moen Shower Head Apart to Clean?
You can take apart many Moen shower heads and handsets to clean them. To do so, first unscrew the head or handset from the shower hose or wall fitting. Depending on the model, you may then be able to remove the front section of the shower head.
This will allow you to access any residue build-up or blockages caused by sediment in your water supply. Ensure that you use a soft cloth when cleaning and avoid using abrasive materials, as this could damage the shower head.
Will Vinegar Damage Moen Shower Head?
When used at its full strength, vinegar can potentially damage a Moen shower head. The acetic acid found in vinegar is strong enough to corrode certain metals and dissolve certain coatings found on some finishes used on Moen products.
To avoid damaging your shower head, it is essential to dilute the vinegar with equal parts of water before soaking your shower head in the mixture. This will reduce the risk of damaging your product’s finish while still allowing you to benefit from vinegar’s cleaning properties.
Without Vinegar, How Can Limescale Be Removed From Moen Shower Heads?
Baking soda is one of the most effective ways to remove limescale from Moen shower heads without using vinegar. Baking soda works because it contains bicarbonate ions. These ions react with calcium carbonate ions that form limescale. The reaction turns the limescale into calcium bicarbonate.
This makes it easy to wash off without scrubbing or harsh chemicals. To use baking soda as an effective limescale remover for your Moen shower head, simply mix 1/4 cup of baking soda with 1/4 cup of water until it forms a thick paste.
Apply it directly onto any areas with limescale buildup and let it sit for 15-20 minutes before rinsing off with warm water.
What Is the White Crusty Stuff On a Shower Head?
White crusty buildup on shower heads and faucets is usually caused by mineral deposits from hard water. A white residue may be left behind over time by the minerals in the water that settles on surfaces such as taps, showerheads, and hoses.
This buildup is most commonly seen around areas where there is the high water pressure and low air circulation, like near the base of showers. To remove these deposits, keep your fittings clean with a cleaning solution such as vinegar or citric acid, as we mentioned above.
Soak a cloth in this solution and then wrap it around the affected area of your fixture for 10-15 minutes before wiping off any remaining residue with a damp cloth afterward.
Does WD 40 Clean Shower Heads?
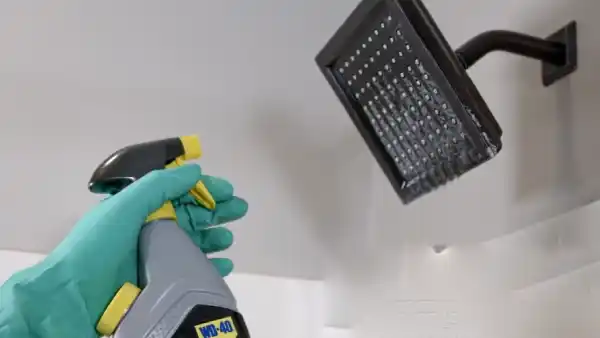
Yes, WD-40 can be used to clean Moen shower heads effectively when used correctly. First, unscrew each screw of your shower head until it comes apart completely so you have access to all its parts and pieces.
After that, let the components completely dry before spraying them with WD-40 to break down any tough buildups from soap scum or hard water deposits. Wait for some minutes before using a cloth or brush to wipe off these loosened residues, and give it one last rinse afterward for sparkling results.
What Is Black Stuff On Moen Shower Head?
The black stuff that can accumulate on your Moen shower head is most likely oxidized manganese, which is a mineral that is commonly found along with iron in drinking water. During this oxidation, oxygen absorbs into all sorts of surfaces like brass, copper, stainless steel, and bronze.
This mineral can be easily removed with some simple cleaning techniques, such as wiping down your faucet spout and shower head with a damp cloth and dish soap regularly.
Is There a Way to Make a Moen Shower Head Flow More?
If you want more water to come out of your Moen shower head, all you need to do is open up the shower arm and adjust it manually until you find a flow rate that suits your preference or needs. It is important to remember to turn the knob back to the original position when you are finished using the water.
Without turning it back, it will stay on at the maximum flow rate, and you will not need to adjust it each time. Before leaving it, ensure the hot and cold handles are entirely off. This will help avoid unnecessary water wastage caused by pressure build-up behind the valves when not in use.
Keep Your Moen Shower Head Looking and Working Its Best
Maintaining your Moen shower head is essential for prolonging its beauty and efficiency. By following some basic steps, you can clean it easily without the need to break out harsh chemicals or tools. Keep that sparkle alive, so your morning showers are always invigorating.
Just remember, never use cleaners containing abrasives, ammonia, chlorine, bleach, or other harsh chemicals, as they may damage the finish on the fixture. When done correctly, regular inspections will help keep your Moen shower head functioning optimally in the long run.