Last Updated on November 14, 2023
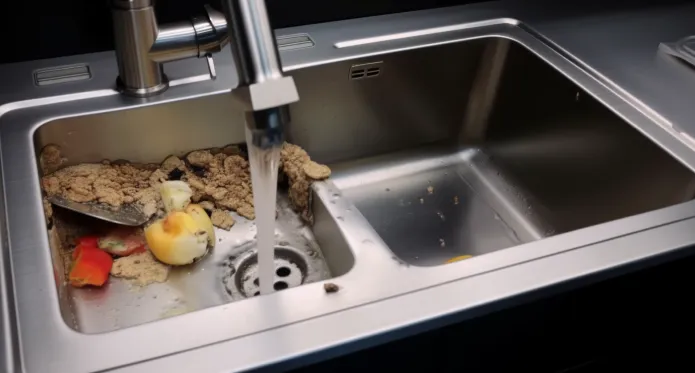
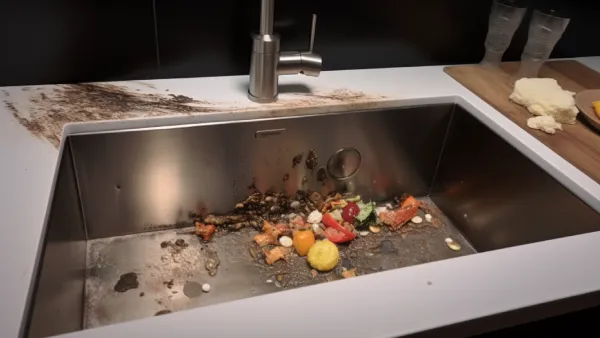
Garbage disposal systems have become a modern-day kitchen convenience, sparing us the hassle of dealing with food scraps and reducing landfill waste. The question of whether garbage disposal can be used in any sink might be on your mind if you’re considering installing one in your kitchen.
You can put a garbage disposal in any kitchen sink, as most sinks are designed to accommodate garbage disposals.
However, before you rush into garbage disposal installation mode, there are crucial factors to consider. You need to check the dimensions of your sink and the available storage space beneath it.
Also, the type of pipes in your home and the size, shape, and horsepower of the disposal you intend to use all play a significant role.
We will discuss what type of garbage disposal you should choose for your kitchen sink and how to install one.
What to Consider When Putting a Garbage Disposal in Any Sink?
When putting a garbage disposal for your kitchen sink, there are 2 factors to consider.
- Continuous feed or batch feed
- Horsepower (HP) Rating
Examine each thing in detail to determine which type of garbage disposal is best for your kitchen sink.
1. Continuous Feed or Batch Feed
Garbage disposals come in two main types: continuous feed and batch feed. The choice between continuous and batch feed disposal largely depends on your preferences and usage habits.
Continuous feed disposals operate as long as the power is switched on, allowing you to clean up as you go.
They consist of a sink-top switch activator, wall switch, or undercounter power outlet. Continuous feed disposals are the most commonly installed type and are suitable for most households.
It is necessary to insert a special magnetic stopper in order to turn on batch feed disposals. This safety feature prevents objects from accidentally falling into the disposal while in use.
If you prefer inserting food waste in batches and do not want to install an electrical switch, batch-feed garbage disposal is suitable.
2. Horsepower (HP) Rating
The horsepower rating of your garbage disposal’s motor is an important factor to consider because it will determine how effectively your disposal can handle food waste.
Generally, a 1/3 HP to 1/2 HP model is best suited to basic, everyday use. Meanwhile, a 3/4 HP model can deal with more challenging waste like small bones and fibrous materials.
A 1 HP or higher model will be the most suitable option for households that generate a lot of food waste. These models typically have additional features like quieter operation and finer grinding capabilities.
How Do You Install a Garbage Disposal in Your Kitchen Sink?
To attach a garbage disposal to your kitchen sink, follow these instructions:
Step 1: Gather Tools and Materials Needed
Before beginning your garbage disposal installation process, ensure you have all the necessary tools and materials.
Some of the tools and materials you will require include a screwdriver, a disposer wrench (usually provided along with the disposal), a hacksaw, and water pump pliers.
You will also need a bucket, rags, a plumber’s putty, an electrical cord (if not already included), safety glasses, and gloves.
It’s also essential to have the garbage disposal unit itself to complete the installation process.
Step 2: Wiring the Disposal
With all the tools and materials on hand, it’s time to wire the disposal. Before starting, read the owner’s manual thoroughly for specific wiring instructions.
To ensure your safety, turn off the power to the disposal circuit at the electrical panel. If the disposal has no attached power cord, follow the manufacturer’s instructions to wire the disposal unit to the electrical supply.
This typically involves connecting the wires using wire nuts and securing them with electrical tape.
Step 3: Install the Sink Flange
Now, you need to install the sink flange, which involves removing the existing P-trap and extension pipe that connects to the drain beneath the sink.
Once removed, remove any old plumber’s putty from the drain hole and apply a generous amount of fresh plumber’s putty around the hole.
Next, install the sink flange from the garbage disposal kit by pressing it firmly into the putty. It creates a tight seal between your flange and your disposal, ensuring the seamless functioning of your garbage disposal.
Step 4: Mount the Disposal Unit
Mounting the disposal unit is the next step, which can vary depending on the type of attachment provided with your disposal.
For instance, you may need to place the mounting ring underneath the sink and secure it according to the manufacturer’s instructions.
Once you’ve done that, mount the disposal unit onto the mounting ring by aligning the disposal’s outlet with the sink flange.
By doing so, you ensure a proper fit and prevent any leakages that may cause damage to your kitchen sink.
Step 5: Connect Drain and Dishwasher Hose
Another important step in the garbage disposal installation is the connection of the drain hose and dishwasher hose.
Start by attaching the P-trap, drain hose, or dishwasher hose to the disposal outlet while following the disposal manufacturer’s guidelines.
If necessary, use a hacksaw to trim the drainpipe to the appropriate length. Once you’ve done that, double-check all the fasteners and connections to ensure they are tight and secure.
Step 6: Plug in the Disposal
After you’ve completed all the above steps, plug the disposal into a nearby electrical outlet if it has an attached power cord.
Before doing so, ensure the circuit breaker for the garbage disposal switch is turned on. By doing so, you can ensure the proper functioning of your garbage disposal, and it will operate effectively without any power interruption.
Step 7: Test for Leaks
Once you’ve completed the installation process, test for any leaks in the connections made. Fill the sink with water and allow it to drain while running the disposal.
Inspect all the connections, including the P-trap, drain hose, and dishwasher hose, for leaks. If you notice any leaks, tighten the connections as needed to stop them.
Is it safe to use garbage disposals with septic systems?

Garbage disposals can be safe for septic systems if you choose the right type and maintain them properly. Some disposals are designed specifically for homes with septic tanks.
These models release enzymes to help break down food waste more efficiently before it enters the septic system.
However, it’s essential to use the disposal cautiously, avoiding materials that are hard to break down, such as bones and grease.
How can you effectively maintain and clean the garbage disposal in your kitchen sink?
To effectively clean and maintain the garbage disposal in your kitchen sink, regularly flush it with cold water while running the disposal and for a couple seconds thereafter. It flushes out contaminants and prevents clogging.
Avoid putting grease or fat down the disposal, as these can lead to blockages. To keep it clean and odor-free, consider grinding ice cubes or citrus peels to help remove residue and eliminate odors.
Periodically, use a commercial disposal cleaner following the manufacturer’s recommendations.
Unlock the Full Potential of Your Kitchen with a Garbage Disposal
When installing a garbage disposal in your kitchen sink, you have to choose the right type of disposal and ensure it’s compatible with your sink.
Installing a garbage disposal can be a DIY process if you follow the proper steps, and it can greatly improve the functionality of your kitchen.
Take care of your disposal by regularly maintaining and cleaning it to continue efficiently grinding away your kitchen waste, like a silent, dependable kitchen companion.