Last Updated on October 18, 2023
Maintaining the caulk around your toilet helps prevent the breeding of bacteria, mold, and mildew buildup. Otherwise, it can lead to discoloration and an unsightly appearance.
But refreshing and cleaning up the caulking around your toilet is easy and straightforward when knowing the right steps.
To clean the caulking around the toilet, mix up a cleaning solution of vinegar and baking soda and apply it to the caulking. Then use a scrub brush or sponge to remove dirt and grime. Rinse with water and dry the area thoroughly.
Get ready to say goodbye to gross caulking around your toilet. Follow our step-by-step instructions to get clean caulking around a toilet.
How to Clean Caulking Around Toilet: Step-by-Step Guide

Ready to give your bathroom a makeover? Let’s get started by freshening up the caulk. Here is a quick guide to getting started:
Step #1: Gather All Supplies You Need to Clean
Step #3: Mix and Apply the Cleaning Solution
Let’s take a closer look at cleaning caulking around your toilet in detail.
Step #1: Gather All Supplies You Need to Clean
Gather up all the supplies you’ll need for this job. You’ll need rubber gloves to protect your hands from any harsh chemicals you may be using. Also, grab some vinegar and baking soda to clean the toilet safely.
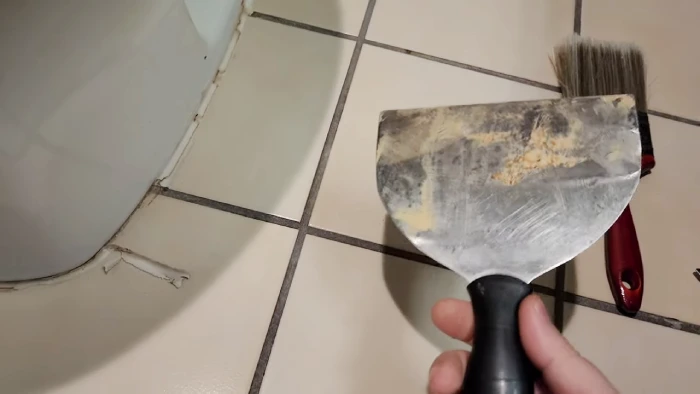
Don’t forget to bring a scrub brush to help you get into hard-to-reach areas. And a razor blade or scraper tool can help remove stubborn build-ups of caulk.
Also, have some clean rags or paper towels on hand to mop up spills and keep things tidy.
Step #2: Put on Rubber Gloves
Put on those gloves and get ready to tackle this messy job. Cleaning the caulking around the toilet can be tricky, so it’s best to protect your hands with rubber gloves.
Rubber gloves help keep your skin safe from harsh chemicals. They may be necessary for removing stubborn stains or buildup.
So don’t forget to put them on before you start cleaning. It’ll make the job much easier in the long run.
Step #3: Mix and Apply the Cleaning Solution
Grab the undiluted white vinegar and a spray bottle, then saturate the area around the toilet for at least 10 minutes.
Allow the cleaning solution to sit so that it can effectively remove any dirt and grime that may have built up. Cover all of the caulking with the solution for maximum effect.
Step #4: Scrub the Caulking
Using a scrub brush or old toothbrush, give the caulking around your toilet a good scouring to remove any dirt, grime, and mold that may have built up. Apply some pressure and work the brush into the caulking crevices to ensure you get everything.
For stubborn stains, add a small amount of baking soda to your cleaning solution and create a paste to help with tougher areas. This’ll help remove all the dirt and grime from the caulking.
Step #5: Rinse with Water
Now that you’ve scrubbed the caulking, it’s time to rinse the area with water. You can use a bucket of water or a handheld showerhead to thoroughly rinse away all the cleaning solution and any debris left behind. Make sure to take your time and ensure that everything is completely rinsed.
Step #6: Dry the Area
Once all the cleaning solution and debris have been thoroughly rinsed away, it’s time to dry the area to ensure that no moisture is left behind.
To do this, use clean rags or paper towels to soak up any remaining moisture around the toilet.
Pay special attention to getting into all nooks and crannies so no water is left behind. This will help prevent damage due to moisture build-up in these areas.
Why is the caulk around my toilet turning yellow?

Various factors, such as accumulation of dirt and grime, exposure to moisture or water, use of low-quality or improper caulk, leaking toilets, and exposure to UV radiation, may cause yellowing caulk.
All of these can lead to discoloration over time. To avoid this problem in the future, it’s important to use a quality caulk that’s designed for bathroom applications.
Regularly clean the area with appropriate cleaning agents. Also, ensuring that all toilet parts are properly sealed will help prevent any water from seeping into the caulk and causing discoloration.
Does hydrogen peroxide whiten caulk around the toilet?
You may be able to brighten the discolored caulk with hydrogen peroxide, but it depends on the severity of the stains and the type of caulk used.
For example, if there’s mildew or mold on the caulk, hydrogen peroxide may successfully remove these stains. But, a combination of other cleaning agents or a caulking replacement might be necessary for more serious staining.
Can you bleach yellowed caulk on your toilet?
You can use oxygen bleach to clean and whiten yellowed silicone caulk in your toilet without the risks associated with chlorine bleach.
Chlorine bleach can discolor surfaces, while oxygen bleach is a safer alternative that can produce similar results.
Simply apply the oxygen bleach to the affected area, let it sit for a short time, and rinse thoroughly with water. This should effectively remove the yellow discoloration from your caulk and leave your toilet looking clean and fresh.
Can rubbing alcohol be used to clean the caulk around your toilet?

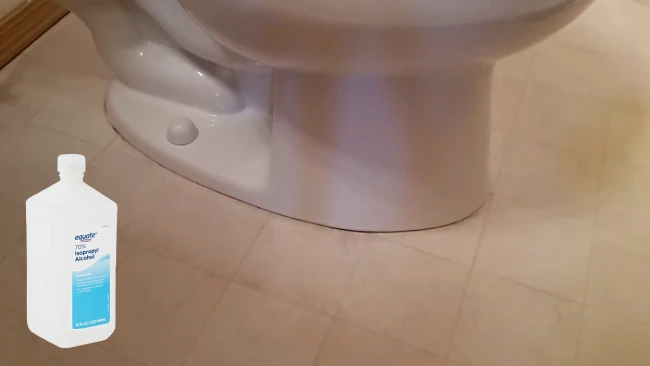
You can clean the caulk around your toilet with rubbing alcohol. This powerful disinfectant and solvent can quickly remove dirt, grime, and caulk stains while effectively preventing mold and mildew growth.
Easily clean your caulked surfaces by applying rubbing alcohol to a clean cloth or sponge and rubbing it onto the affected area. After a few minutes, rinse with water and meticulously dry the surface to perfection.
Revive Your Toilet Caulking with Right Cleaning Method
You’ve now successfully cleaned the caulking around your toilet. It won’t be long before it looks as good as new.
Some of the caulk may have turned yellow. A buildup of soap, mildew, and dirt causes this.
To keep it looking its best, thoroughly clean it regularly with a mixture of hydrogen peroxide and water. This will help whiten any discoloration. You can enjoy a clean caulk for a long time with proper cleaning and maintenance.

