Last Updated on March 5, 2023
Has your shower wall gone from crystal clear to a cloudy mess? Has it become overrun with soap scum, mildew, and dirt buildup?
It’s time for something more than just regular cleaning. You need a practical solution that will restore the pristine condition of your acrylic walls. Discover how to clean acrylic shower walls quickly, effectively, and easily.
If you want your acrylic surfaces to look as good as new, use materials that won’t damage them. Avoid anything abrasive or harsh, like solvents and aerosols. A non-abrasive sponge with baking soda and vinegar is the go-to combination for successful scrubbing without doing any harm.
Here you will learn all the tips and tricks to have yours perfectly clean, safe for use, and totally refreshed. The steps are simple, from preparing the cleaning solution to rinsing off the remaining residue to restore its original shine. Read on to discover what they are.
How to Clean Acrylic Shower Walls: Steps to Follow
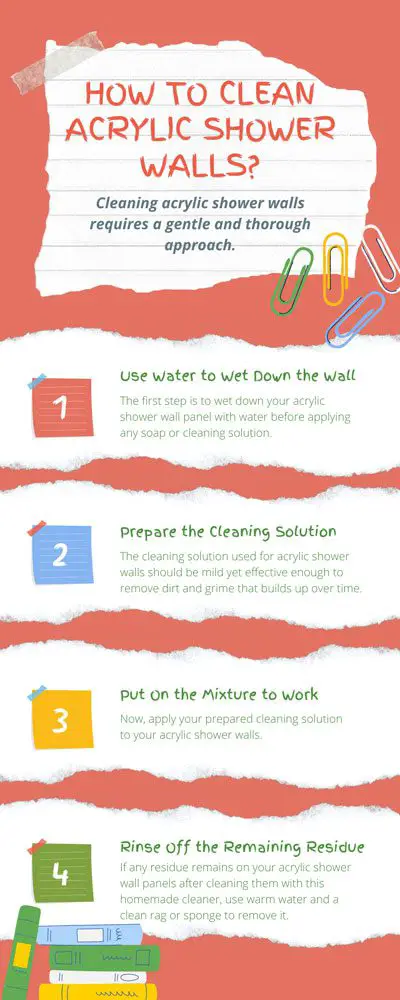
Cleaning acrylic shower walls requires a gentle and thorough approach. Here’s how you clean acrylic shower walls in four easy steps.
Gathering Materials:
- Baking Soda
- White Vinegar
- Soft Cloth or Sponge
- Bucket or Bowl for Mixing Solution
- Soft Scrub Brush or Nylon Net Pad (optional)
- Gloves
Step 1: Use Water to Wet Down the Wall
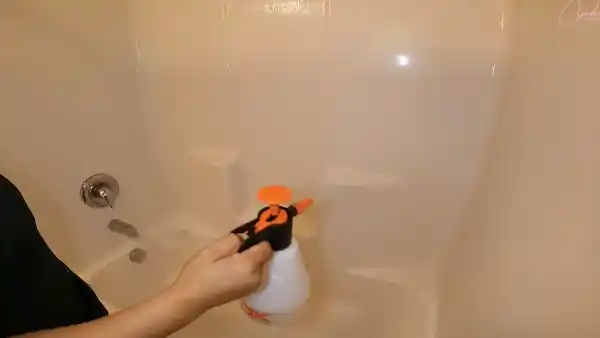
The first step is to wet down your acrylic shower wall panel with water before applying any soap or cleaning solution. This helps to loosen dirt and soap residue that has built up on the wall’s surface over time.
As part of this step, you can use a handheld sprayer or bucket of warm water and scrub gently around the entire wall surface with a soft sponge or cloth. Make sure all areas are completely wetted before moving on to the next step.
Step 2: Prepare the Cleaning Solution
The cleaning solution used for acrylic shower walls should be mild yet effective enough to remove dirt and grime that builds up over time. Mix equal parts baking soda and vinegar in a bowl or bucket to make a cleaning solution. Ensure that all of the baking soda is dissolved in the mixture.
To enhance its effectiveness, you can also add a few drops of detergent into the mixture. After that, add enough distilled water to it until it has reached a paste-like consistency. Due to this, it is easier to apply it to the walls during the third step.
Step 3: Put On the Mixture to Work
Now, apply your prepared cleaning solution to your acrylic shower walls. Using either a cloth or sponge, gloves are recommended. Generously put on an even layer of the mixture onto all areas where there is dirt and grime build-up. If there are any heavily stained spots, you can also use your fingers (or wear gloves) or a nylon net pad for extra deep scrubbing action.
Once everything is covered with an even layer of mixture, allow it to sit for 10-15 minutes before wiping off any excess. For deeper stains and tougher grime, leave the mixture on for 30-60 minutes before using a damp cloth or sponge to wipe off anything leftover.
Step 4: Rinse Off the Remaining Residue
If any residue remains on your acrylic shower wall panels after cleaning them with this homemade cleaner, use warm water and a clean rag or sponge to remove it. Be sure to scrub away any stubborn spots that may need extra effort as you do this, and don’t forget to pay close attention.
When all sections are completely dry, you can either use a dry cloth or a dehumidifier (if available) to keep them dry until they are ready to be reused.
Acrylic Shower Walls: Why You Should Clean Them?
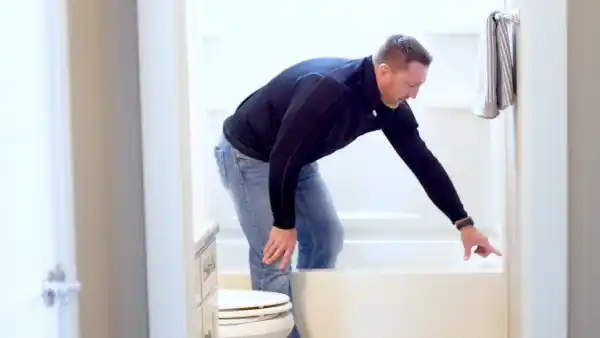
Acrylic shower walls have a ton of perks, but did you know they need regular cleaning to stay in tip-top shape? For the following reasons, it is necessary to clean acrylic shower walls:
Prevent Discoloration
Acrylic shower walls can become discolored over time due to soap scum, hard water deposits, oils, dirt, and grime that build up on their surfaces. You can prevent discoloration and keep your acrylic shower walls looking like new if you clean them regularly.
Avoid Mildew Growth
Cleaning acrylic shower walls removes any potential areas of trapped moisture where mold or mildew could develop over time. Regularly maintaining your acrylic shower walls with mild detergents or specialized cleaners is vital for preventing mildew growth.
Remove Stubborn Stains
Over time, acrylic showers accumulate hard-water stains and soap scum that are hard to get rid of. You can easily remove these stains by routinely cleaning your walls with the above method aimed at acrylic surfaces.
To Keep Away Harmful Bacteria & Pathogens
Dirty surfaces in bathrooms are one of the most common places where bacteria can spread quickly. Keeping your acrylic shower walls clean properly helps keep away bacteria, germs, and other things that could make you sick. It also helps get rid of bad smells and dust mites.
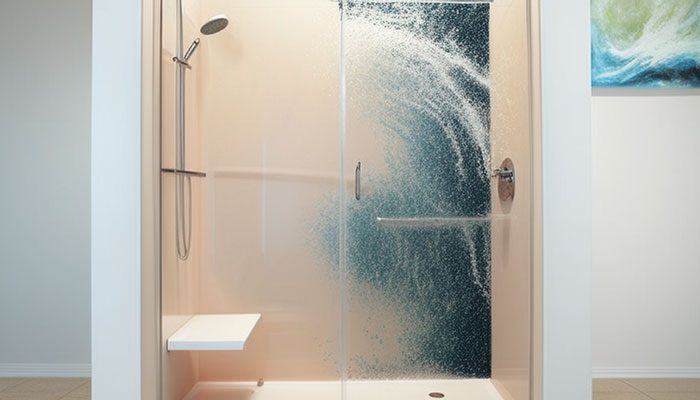
Preventing Scratches
Unless an acrylic wall’s surface is properly maintained, dirt particles can accumulate inside its pores, leading to scratches over time. Cleaning your walls consistently helps prevent this from happening to ensure the longevity of their shiny appearance for years to come.
To Enhance Visual Aesthetics
Not only does cleaning keep away unwanted dirt and grime, but it also helps enhance its visual aesthetics. A deep clean every now and then can make all the difference when it comes down to ensuring they remain aesthetically pleasing.
Improve Longevity
Properly cleaning your acrylic shower panels not only keeps them looking good but also helps prolong their longevity. By preventing discoloration, avoiding mildew growth, and removing stubborn stains and other contaminants from the surface of your acrylic.
What Shouldn’t You Use On An Acrylic Shower Wall?
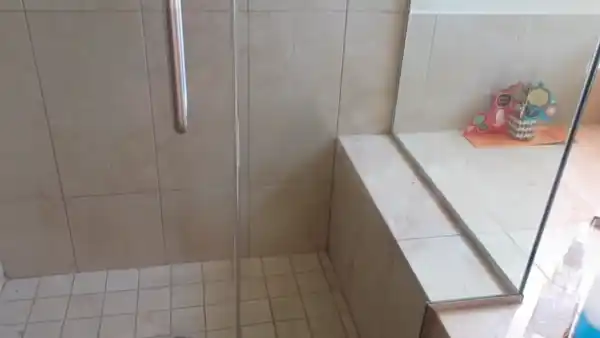
To clean an acrylic shower wall, avoiding using any cleaners or products containing acetone is essential. Acetone can damage and dull the acrylic surface, leading to a discolored and cloudy appearance over time.
Also, acetone-containing cleansers can cause cracking and etching of the acrylic, which can harbor bacteria buildup and make the wall look old and worn out. Using only non-abrasive, non-acetone-based cleaners when cleaning your acrylic shower walls is best.
It is also essential to avoid using any type of harsh scrubbing pads or steel wool on the surface, as these can cause scratches and dullness. A soft cloth or sponge is often enough to remove dirt and other residues from your walls.
Is It Okay to Use Bleach On Acrylic Shower Walls?
Don’t be tempted to use bleach to clean acrylic shower walls. Sure, it may seem like a good idea at first glance, but the harsh chemicals in bleach can do serious damage over time. In fact, they could actually break down the material and cause discoloration or fading of your beautiful surface. Keep these things far away from each other if you want your bathroom to look its best.
Aside from that, using bleach on acrylic showers can lead to chipping or cracking due to its strong oxidizing properties. Also, some types of bleach contain abrasive agents which can scratch and dull the surface. For these reasons, it is best to avoid any form of bleach when cleaning an acrylic shower wall.
Is There Anything That Can Be Used Repeatedly to Clean Acrylic Shower Walls?
It is essential to regularly clean dirt and debris to prevent any damage to the acrylic surface. But be mindful that too much use of chemicals can strip away that shine and leave you with an expensive repair bill. A commercial plastic cleaner or mild soap and water is suitable for cleaning acrylic shower walls regularly.
With warm water and mild detergent, wipe down the walls with a soft cloth or sponge. If you need more scrubbing power, use a specialized cleaner specifically designed for plastics such as acrylics. When you use these cleaners, ensure they aren’t too harsh on the material, and rinse them off afterward.
How Frequently Should Acrylic Shower Walls Be Cleaned?
It is generally recommended to clean acrylic shower walls at least once a week to keep them looking pristine and free from dirt, soap scum, and hard water stains. This may vary depending on how much use the shower receives and how much traffic goes through it. More frequent cleaning may be needed if it is used often.
It is a good idea to clean acrylic walls deeply every couple of months. This will help to remove stubborn dirt and grime from the surface. Also, you risk having a cloudy acrylic shower wall if you don’t clean it on a weekly basis.
What Makes Acrylic Shower Walls Cloudy?
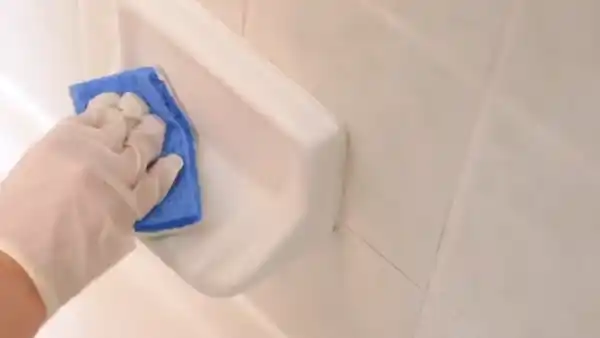
Acrylic shower walls can become cloudy due to improper cleaning or using an incorrect type of cleaner. Exposure to harsh chemicals such as chlorine bleach or ammonia-based cleaners can cause discoloration and cloudiness on the surface. In prolonged contact with ammonia, acrylic surfaces can become discolored and cloudy.
Other causes for cloudiness include hard water deposits, oils, soaps, lotions, and shampoos left behind after each use. The best way to prevent cloudiness is by regularly wiping down the surfaces with clean water and drying them off after each use. Whenever possible, clean acrylic surfaces only with gentle, nonabrasive cleaners.
Enjoy Easier, Faster Cleaning: Acrylic Shower Walls
Keeping your acrylic shower walls clean and pristine is fast, easy, and, most importantly, safe. Thankfully, the effort involved can be minimized with the right tools at your disposal. Just follow the simple steps outlined above for gleaming results without any harm to yourself or damage to those scrub-resistant surfaces.
For instance, squeegees, microfiber cloths, and glass cleaners can all be used to keep acrylic walls sparkling. So if you’re ready to give your shower walls a bright new look without a lot of hassle, why not equip yourself with the right product for the job?
With regular cleaning and maintenance, acrylic walls will stay shiny and attractive for years. So, scrubbing the results is worth it.

